Do you want to take a screenshot on Android TV, and transfer it to your computer or smartphone? Then, this article will help you do so.
We all tend to take screenshots on our smartphones while browsing the Internet. Or, while watching our favorite TV shows and Movies. And, It’s quite easy to take screenshots on Android and iOS. You just have to press the power and volume key combinations. In addition, you can use the three-finger swipe on Android, or double-tap on the back of your iPhone to capture screenshots.
However, when it comes to taking screenshots on Android Smart TV, isn’t as straightforward. Yes, some big brands of smart TVs do provide screen capture options in their TV Remote. Or, you can try pressing the power + volume down keys together. But, if this key combination doesn’t work with your smart TV. Then, here are some best ways to Take Screenshots on your Android TV. Since all smart TV and streaming devices are built upon Android TV OS. That’s why, these methods will work for all. You can also Take a screenshot on Fire TV Stick.
Take a Screenshot on Android TV
Take Screenshots on Android TV using Computer
Taking screenshots on Android TV using an App, and transferring using another app is a hectic process. You can make this process simpler using adbLink2 software.
Capture Screenshots using adbLink2 Software
With adbLink2, you just have to link your Android Smart TV with your Computer once via ADB. And, after that, on one click screenshot will get captured. Moreover, it will get saved in a folder on your computer, selected by you. With adbLink2 you can also sideload Android Apps on your Android TV. Moreover, it allows you to access the TV’s file manager and provides a Keypad Remote.
However, before you begin, make sure your Computer and Android TV are on same WiFi network. And, to use this software, you have to enable ADB Debugging, and need note down the IP address of your TV. Here’s how you can do all that.
All this is just a one-time setup process, so simply follow these step-by-step instructions.
Enable Developer Options on Android TV
- Go to the Gear Icon on the top-left corner of the Android TV Screen. Open Settings through it.
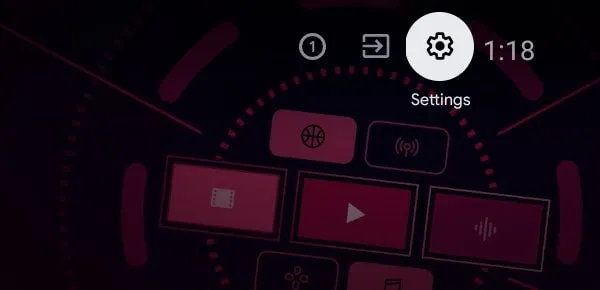
- In Settings, go to Device Preferences.
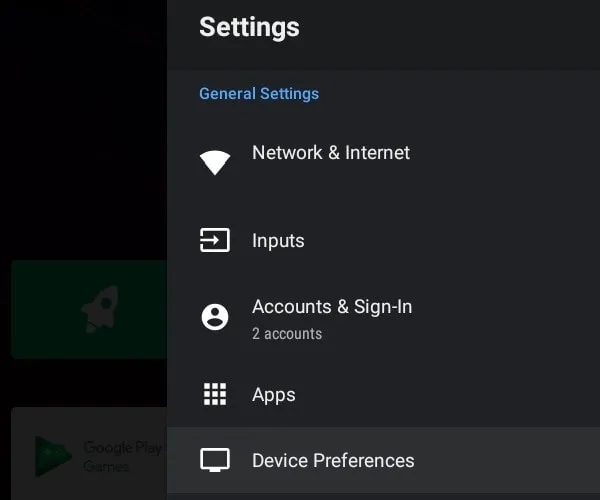
- Select the About Option.

- Scroll down and go to Build. And, press the select key on your remote 6-7 times. This will enable Developer Options.

Enable USB Debugging and ADB Debugging
- Once developer options get enabled. Go back to the device preferences settings and you will find Developer Options, do open it.
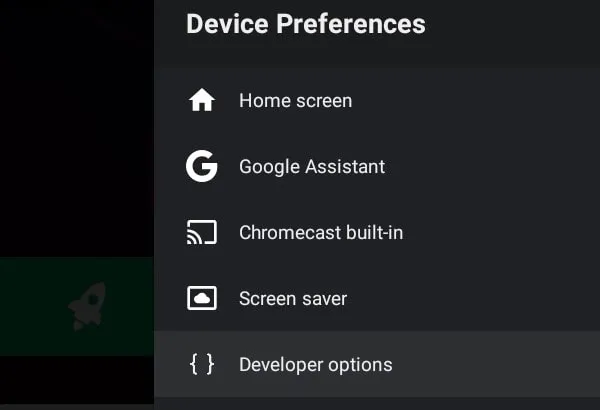
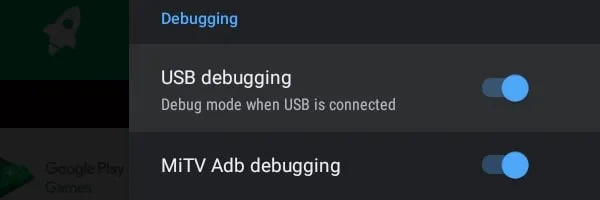
- Make sure Developer Options is enabled. Scroll down and do enable USB Debugging. Apart from it, do enable ADB Debugging or the Network Debugging option.
Find your Android TV IP Address
- Again open Android TV Settings and go to Device Preferences.
- Select the About option.
- After that, select the Status option.
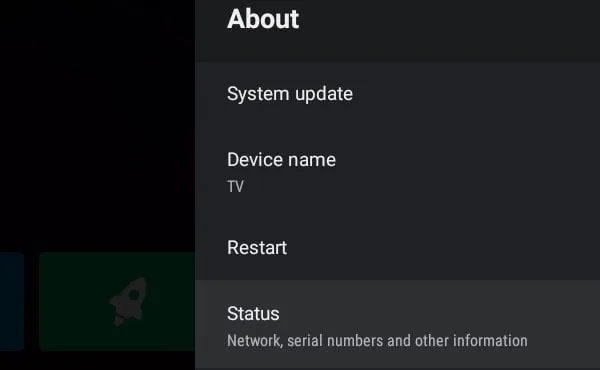
- You will now find the IP address of your Android TV. By default, it will show you IPv4 and IPv6. We need the IPv4 address that starts with
192.168.
- Do note down the IP address somewhere. Because we will use it to connect our adbLink2 software to the TV. Or, you can keep the status settings open for a while.

Note: If you want to sideload Android Apps on TV using the adbLink2 or any other App. Then, you have to enable Install unknown apps permission.
Install and Setup adbLink2 on Windows
- Download the latest version of adbLink2 from the official website of it. It is available for Windows, macOS, and Linux/ChromeOS.
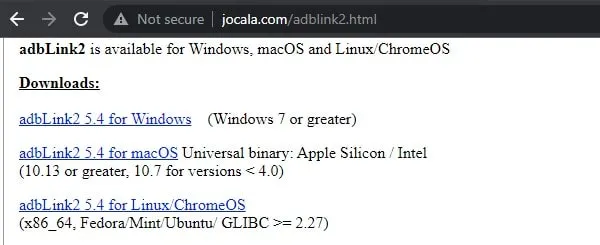
- Once the adbLink2 setup file gets downloaded, do open it.
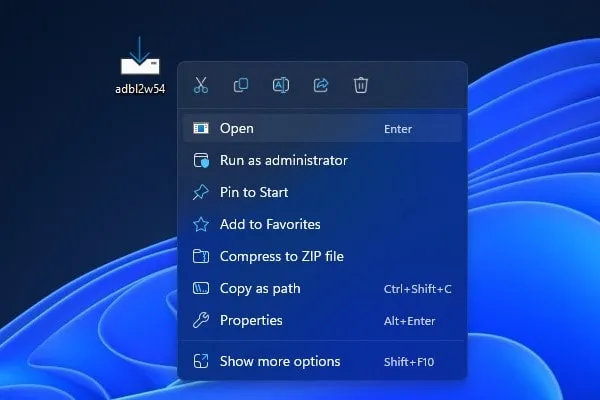
UAC Window will get appear. Click on Yes.
Note: Windows Protected your PC screen will appear, click on More Info > Run anyway.
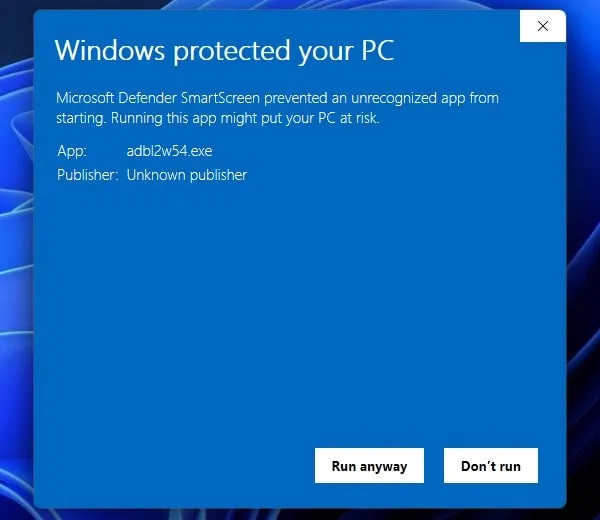
- The setup wizard will get open now, do install it like any other Windows Software.
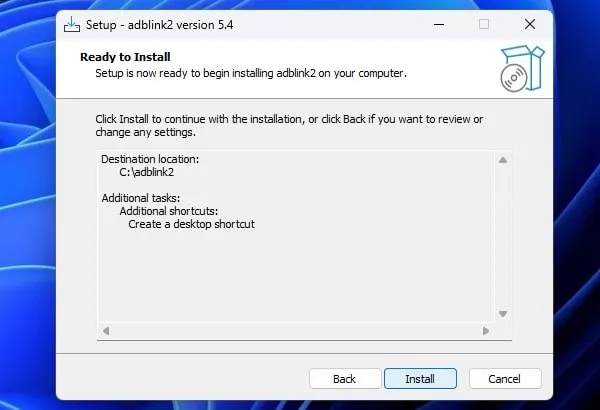
The setup will also ask you to enable a few settings on your TV. Since we already did that, you can click on Next.
- Once adbLink2 gets installed, do open it. And, click on New.
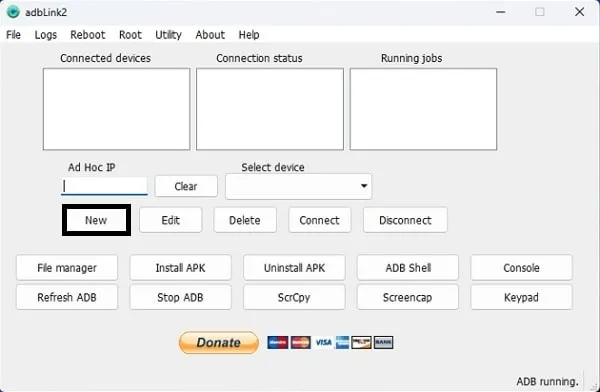
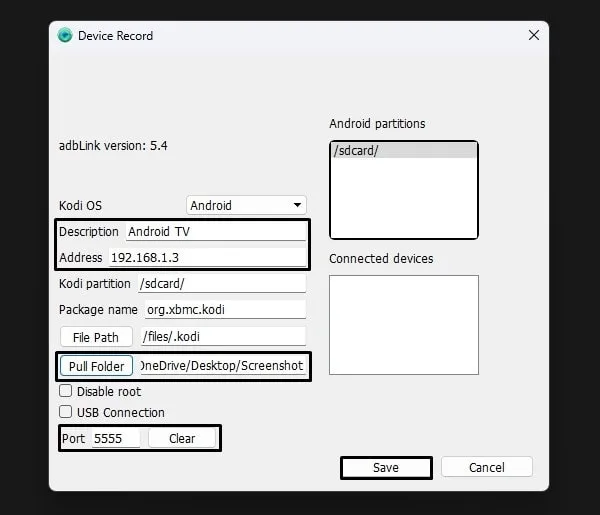
- The device record window will get open. Enter the following details.
Description: Android TV
Address: (Enter the IP address of your Android TV)
Port: 5555- After entering these three details, click on Pull Folder. And, do select the folder in which you want to save Android TV Screenshots.
- After that, click on Save.
- Now, make sure “Android TV” is selected in the Select Device. Click on Connect.

Note: On the TV Screen, a USB Debugging permission will appear. Select OK to give permission. If you see a “Device unauthorized” error in adbLink2, click on connect option again.
- Your TV is now connected via ADB to your Computer. Click on Screencap.
- Within a few seconds, the screenshot will get captured and will get saved into the selected location. You will see a message about it.
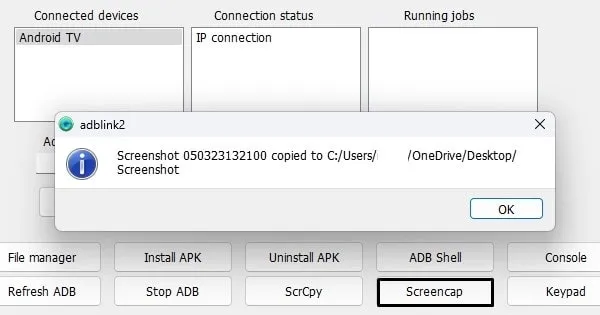
That’s it, now you don’t need to go through the same process again. Next time simply open the software and click on connect. And after that, click on Screencap to capture the screenshot and save it on your computer.
