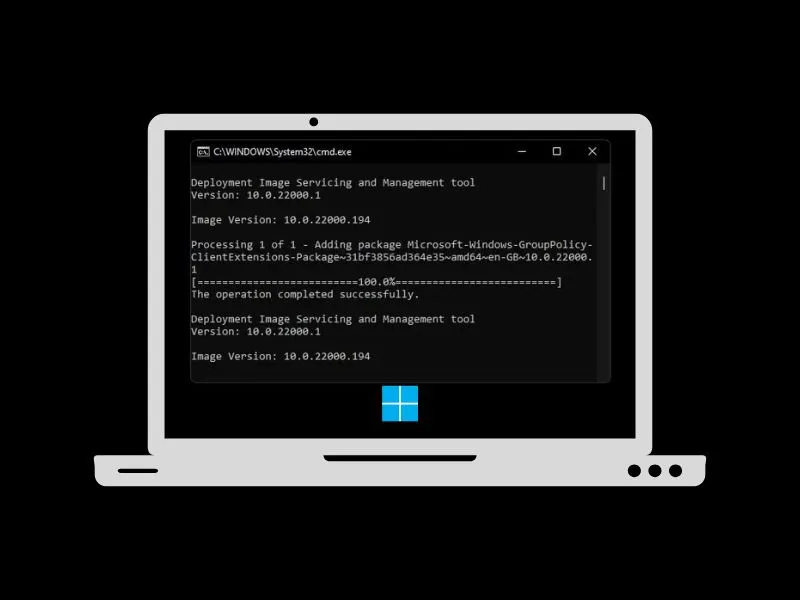
If you’ve installed Windows 11 Home Edition, then you might have noticed that Group Policy Editor (gpedit.msc) is missing. Because of Gpedit.Msc doesn’t come preinstalled in Windows home edition. But, yes, still you can install or enable Group Policy Editor. Or, you can try some Group Policy Editor alternatives.
In Windows, Group Policy is an advanced way to configure computer and user settings for a local or a network joined computer. You can use Group Policy to configure almost all aspects of OS including software, network, and security policies. Many times to make some advanced changes in the system we have to use Registry Editor. But, instead of Windows Registry, you can configure different aspects of Windows 11 through group policy editor. Like, you can disable Lock Screen on Windows 11 using Group Policy.
Why Group Policy Editor is not available for Windows 11 Home Edition?.
The main difference between the home and pro edition of Windows 11 is the network management capabilities. Home edition doesn’t come with it. Windows 11 home edition is designed for personal home use. And, in a personal computer, Group Policy Editor is not much needed. Even, you will notice that remote desktop is also missing in the Windows home edition. In fact, no matter you’re using Windows XP, Windows 7, Windows 8/8.1, if you’re on home edition, gpedit.msc will not be available for you.
And, it is a serious drawback of the home edition, because even managing settings of local computer group policies is helpful. Yes, you can change local group policy through the registry, but it’s risky for normal Windows users. Unwanted registry changes can have adverse effects on OS.
Ok so without a further delay, let’s Enable Group Policy Editor on Windows 11 Home Edition. These methods will also work on older versions of Windows 7/8/10.
Enable Group Policy Editor on Windows 11 Home
First, check whether Group Policy Editor is installed or not in your system.
- Press Windows + R Key.
- Type Gpedit.Msc in it and press enter.
- If the Local Group Policy Window appears means GPE is installed. 4. Else, you will get an error message window “Windows cannot find ‘gpedit.msc’. Make sure you typed the name correctly, and then try again”.

Alternatively, you can check your Windows version by typing winver in the run window. (Press Windows + R Key to Launch Run Window.)
Enable Group Policy Editor in Windows 11 using Batch File.
By default, DISM in Windows is used to repair Windows Image or, to modify Windows installation media files. But, you can also use it to enable Group Policy Editor. Because it also does store Gpedit Files. You don’t have to do much to enable group policy editor in Windows 11. You only have to run a batch file with administrator privileges. Just to keep things simple, I have created a batch file. Which you can download and run in your system.
- First, download Gpedit Enabler for Windows 11 Zip File from the below download link.
- Once, Zip file gets downloaded. Right-Click on it, and then click on Extract All > Extract.
- Open Extracted Foler. And, Do right-click on “gpedit-enabler-for-windows-11-home.bat” file, and then click on “Run as administrator”. (Don’t try to directly open the batch files, else, cmd will show you errors.)
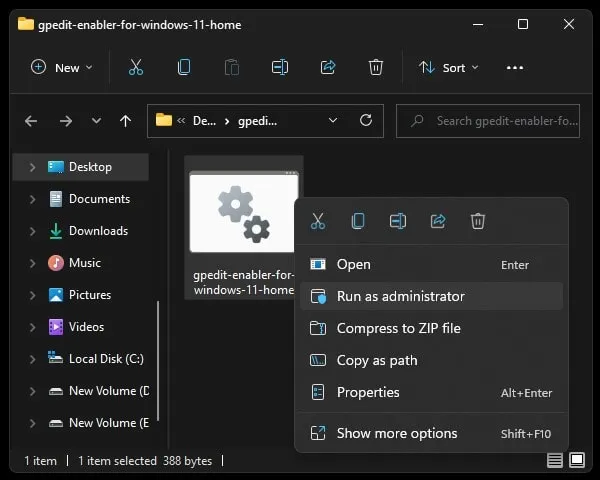
Note: If the Windows Protection window appears. Click on More Info > Run Anyway.
- That’s it, CMD will now get open. And, the process to enable group policy in Windows 11 Home will get started.
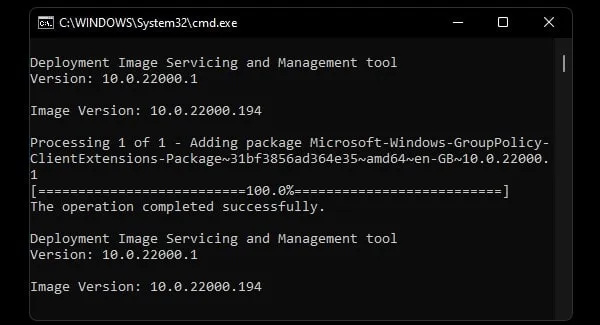
- Don’t interrupt the process. Because once the process gets completed, the CMD window will ask you to press any key. Do press any key to close CMD Window. You might also get some DISM error, but no worries, GPE is installed already.
How to open the group policy editor after installing.
- Press Windows + R Key.
- Run Window will get Open.
- Type gpedit.msc in it and press enter.
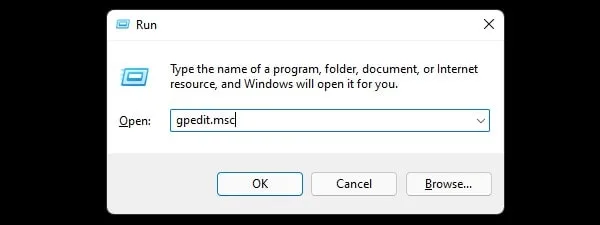
- That’s it, Group Policy Editor will get open.
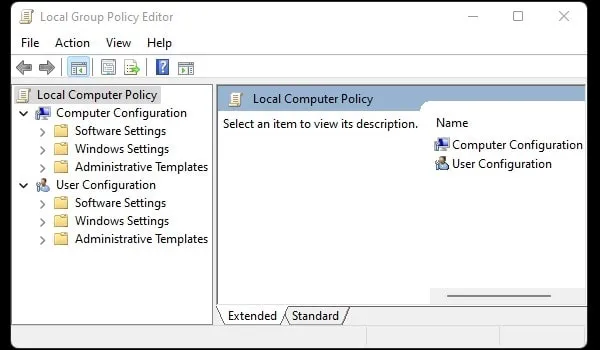
Alternatively, you can use Windows Search.
Install Group Policy Editor using Setup File.
If the first method didn’t work for you. Then, you can try this method. In this method, we will use a gpedit installer, which will help you to install Microsoft.net manually. Because Microsoft.net is required for Group Policy Editor to Work. Although, this method is also similar to the first one. Because we have to run that batch file after installing through setup.
- First, download Group Policy Editor Zip File from the below link.
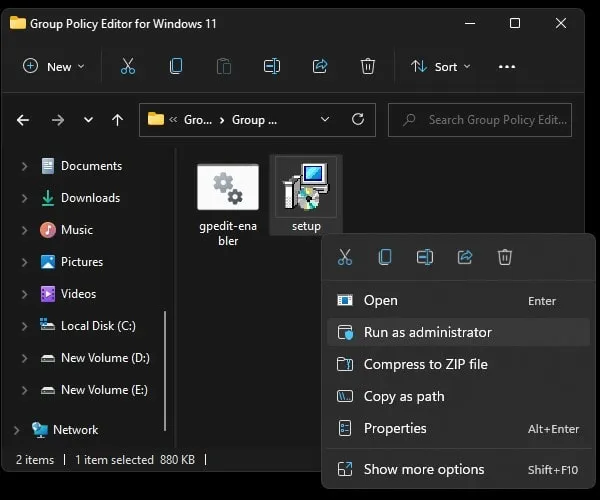
- Extract Zip File and you will find a setup file in it. Right-click on it and then click on “Run as administrator”.
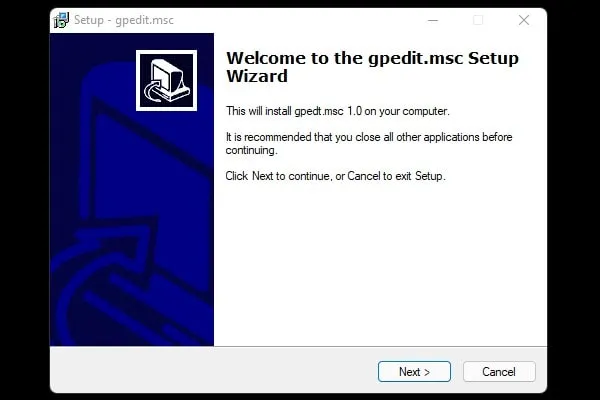
- The gpedit.msc setup wizard will now get open. Click on Next.
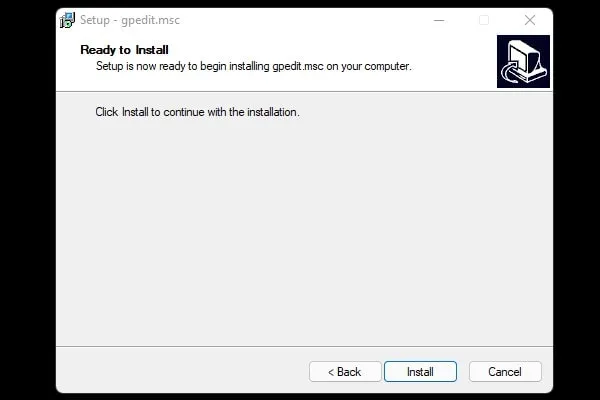
- After that click on install.
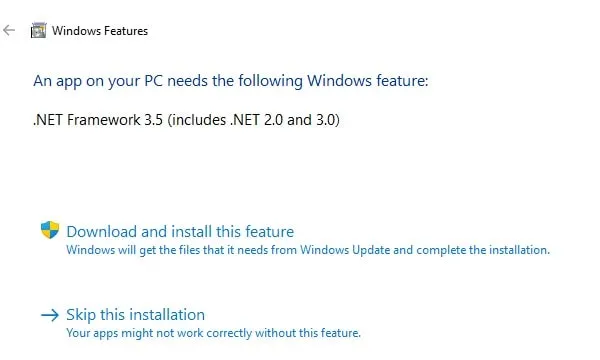
- Windows Features Window will now appear. Click on “Download and Install this feature”. It will install “.NET Framework 3.5”.
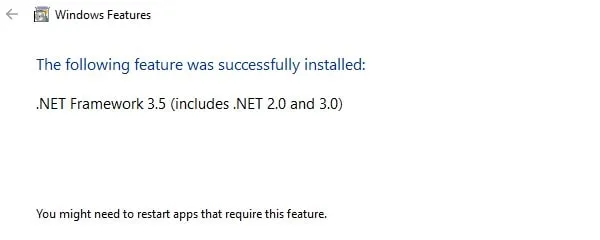
- Once the installation process gets completed you will get a success message. Click on Close.
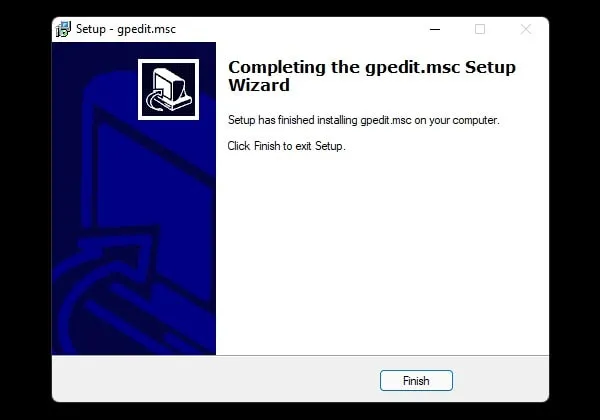
- Click on Finish.
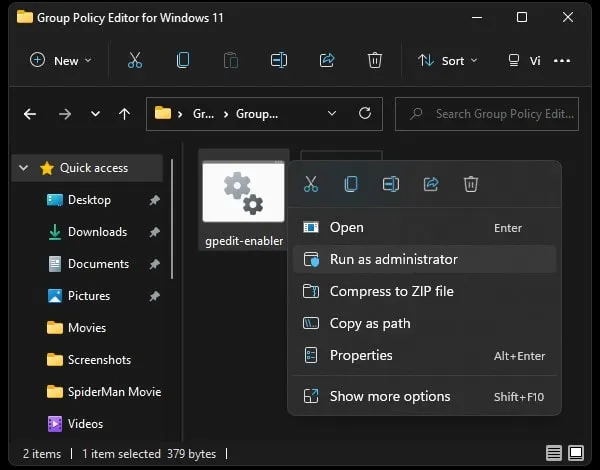
- Open extracted zip file again and now run the “gpedit-enabler.bat” file as administrator.
- Once, the gpedit-enabler batch file process gets completed. Reboot Windows to apply changes.
- That’s it, Group Policy Editor is now installed and enabled in your Windows 11 Home PC/Laptop. So that’s how you can Enable Group Policy Editor on Windows 11 Home.
Group Policy Editor is not Working. (Solution)
If you’re using a 64-bit version of Windows 11. And, Group Policy Editor is not opening when you run gpedit.msc. Then, you have to move a few files and folders.
- Go to C:\Windows\SysWOW64. And, copy these three files.
- GroupPolicy
- GroupPolicyUsers
- gpedit.msc
- Now, open C:\Windows\System32 and paste it insider System32 Folder.
Install Policy Plus
Policy Plus is an open-source alternative to Group Policy Editor. It is designed to work in all Windows editions. With Policy Plus, you can view and edit Registry-based policies in local GPOs. You can also navigate to policies by text or ID.
- Download Policy Plus from its GitHub Page. (Check Assets Section).

- Once, PolicyPlus setup gets downloaded, run it as administrator. And, Install it in your system.
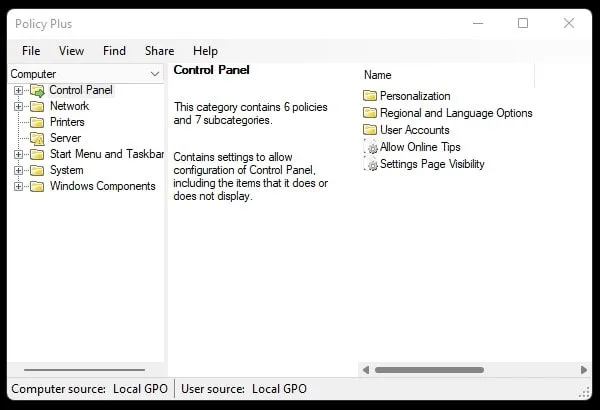
Once it gets installed you can start using it as an alternative.
