
It’s been a long time since Microsoft has ended support for the older versions of Windows 2003, XP, and 7. Moreover, Microsoft abundant Windows 8. Therefore, there will be no security updates or patches from Microsoft. The company is now only focusing on Windows 10 and 11. So, if you have an older PC/Laptop with an older version of Windows installed on it. Then, you might be looking for a lightweight OS to keep using that computer. No worries, there is an OS available, called ReactOS. Which can run Windows programs and works flawlessly on any older computer. Also, now you can install Chrome OS Flex on Old Laptop.
What is ReactOS?.
ReactOS is a free and open-source operating system, designed for personal computers. Before 2002, ReactOS was known as FreeWin95, because it started as a Windows 95 Clone. ReactOS’ original goal was to run Windows binaries, with computers programs and drivers for Windows Server 2003 and later versions of Windows. Although, ReactOS is still considered a feature-incomplete alpha OS in 2022, despite being 20 years old. But, you can test it by installing ReactOS on VirtualBox.
ReactOS 0.4.14 Features.
Recently, ReactOS version 0.4.14 has been released, with a couple of improvements. The good thing about ReactOS is it looks like an older version of Windows. It comes with all Windows default utilities like Task Manager, Command Prompt, Explorer++, Application Manager.
The best part is you can install Windows Software and Drivers. Apps like VLC, Firefox, Libra Office, PuTTY, WinZip, WinRAR, 7-Zip, FileZilla, Media Player Classic, and many others work flawlessly in it. You can also play games in ReactOS. Overall, you can replace it with any older version of Windows, and you will not regret it. But, before you start using ReactOS as your primary OS. Let’s test it out in VirtualBox. So, here is the step-by-step guide to installing ReactOS on VirtualBox.
Read Also: Just like ReactOS, there is an open-source macOS also available, called airyxOS. And, if you want to try that as well, then you can read our article on “Install AiryxOS on VirtualBox“.
Steps to Install ReactOS on VirtualBox.
Download ReactOS ISO File.
Since ReactOS is an open-source operating system, you can download the source code of it from GitHub.
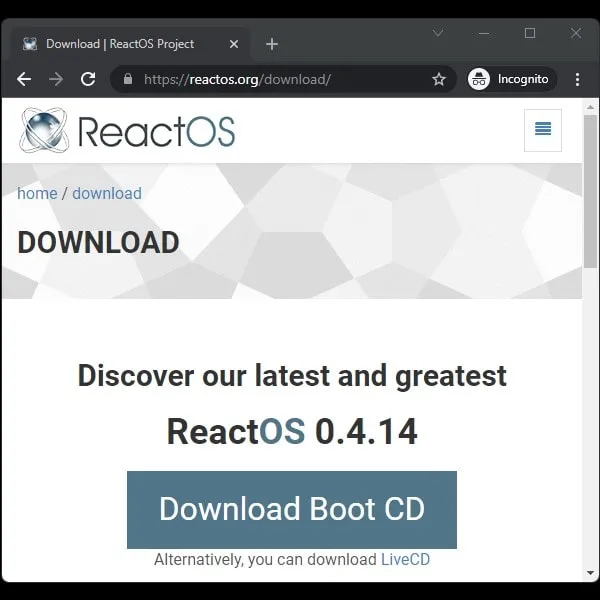
- To download the ReactOS ISO file, open its official site using the following link.
- Click on Download Boot CD. (Now, it will ask you to donate to support the project. You can do so if you like, else, click on “No, thanks. Let’s proceed with the download!”.)
- Sourceforge page will get open and within a few seconds downloading will be started. ReactOS Zip file size will be around 110 MB.
- Once the Zip file gets downloaded. Extract it using 7Zip. Or, do right-click on it, and click on Extract All > Extract.
- Open the extracted folder and you will find the ReactOS ISO File. We will use the ReactOS ISO file after creating a ReactOS virtual machine.
Install VirtualBox.
VirtualBox is free and open-source software to run any OS within your primary OS. It allows you to create a virtual machine by using your existing system resources. With the help of virtual machines and drivers, you can easily run other OS. And, we are going to run ReactOS on Windows using it. It is available for macOS, Linux, and OS X. So that’s why you can run ReactOS on Linux and OS X as well. Follow the following link to download VirtualBox.
- Once, the VirtualBox setup file gets downloaded. Simply right-click on the setup file and choose “Run as administrator”. UAC window will now appear, click on Yes.
- VirtualBox setup window will appear. Do follow instructions that appear on the screen to install VirtualBox.
During the setup process, VirtualBox will ask you to install some virtual drivers. Do click on Install. Once, VirtualBox gets installed, do open it.
Create ReactOS Virtual Machine.
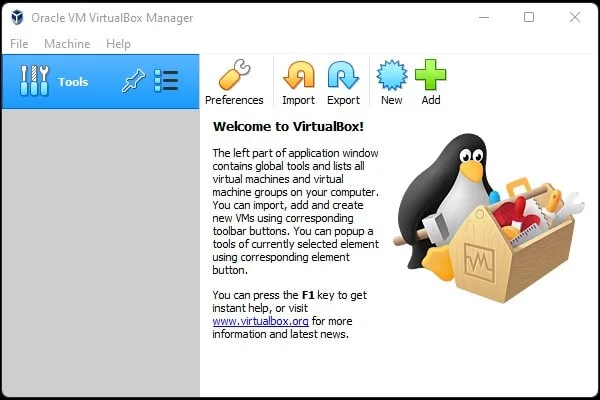
- Open Oracle VM VirtualBox Manager App. Once it gets open, click on New.
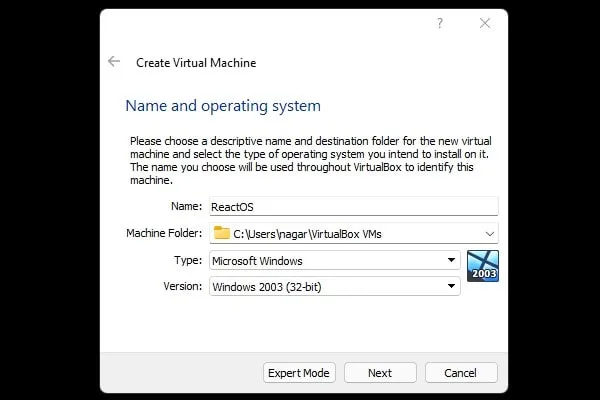
- Create Virtual Machine window gets open. Do type ReactOS in the name field.
- Select “Windows 2003 (32-bit)”, click on Next.
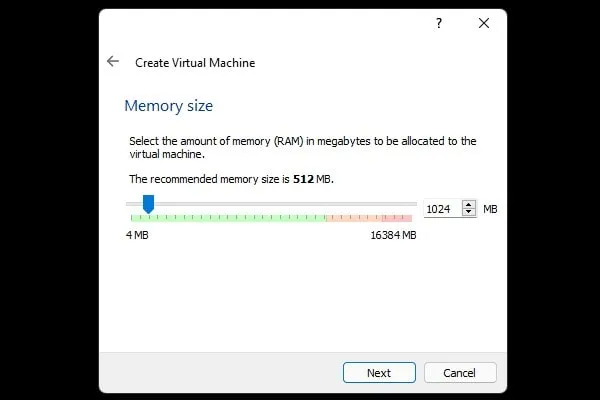
- After that, select 1024 MB in memory size using the slider. Or, you can keep it to 512 MB RAM. Click on Next.
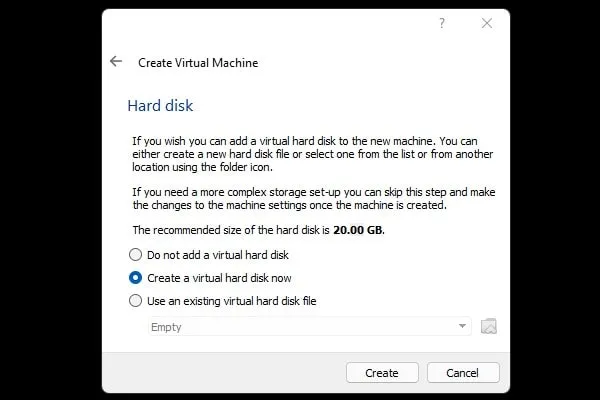
- Select the “Create a virtual hard disk now” radio button and then click on Create. (Virtual hard disk will be your ReactOS storage.)
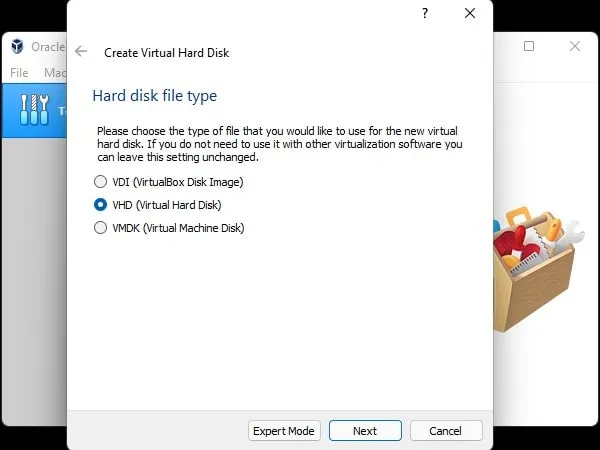
- Next, it will ask you to select the hard disk file type, select “VHD (Virtual Hard Disk)”. Click on Next.
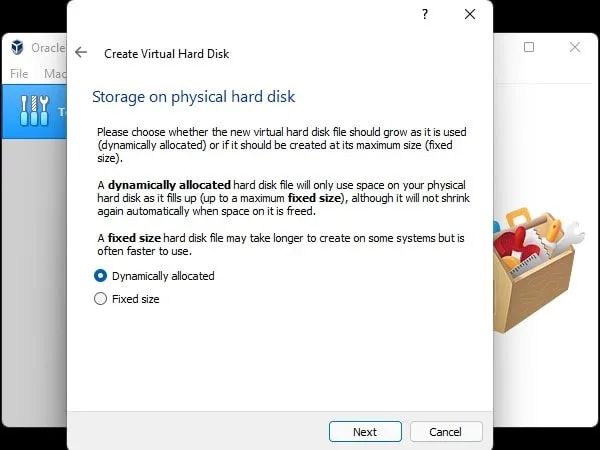
- Select the “Dynamically allocated” option, click on Next.
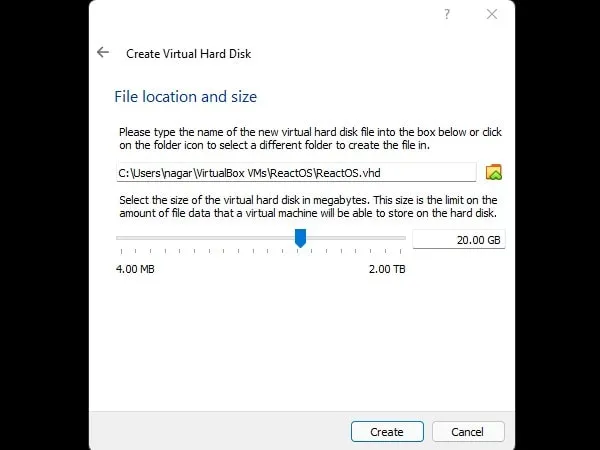
- Next, it will ask you to select a virtual hard disk size. If you have enough storage, keep it to 20.00 GB and then click on Create. Else, you can reduce it to 10.00 GB.
- That’s it, ReactOS Virtual Machine will get created. Now, it’s time to select ReactOS ISO File.
- Click on the [Optical Drive] Empty option. After that, click on the “Choose/Create a disk image” option.
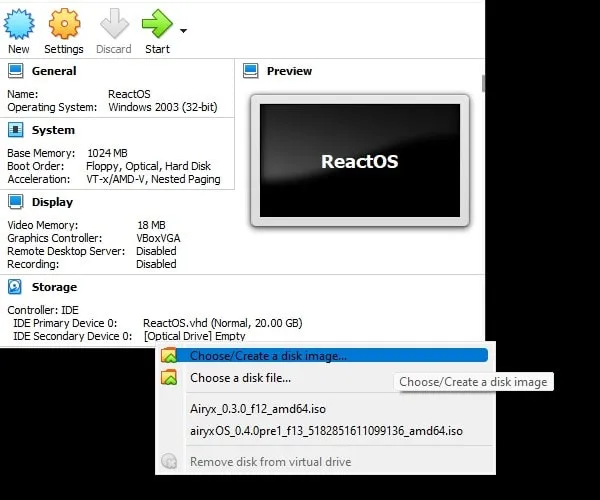
- ReactOS – Optical Disk Selector Window will now appear. Click on Add. Navigate the ReactOS ISO File and click on Open.

- Once the ISO File is selected, click on Choose. That’s it, now you can run ReactOS.
Start and Setup ReactOS.
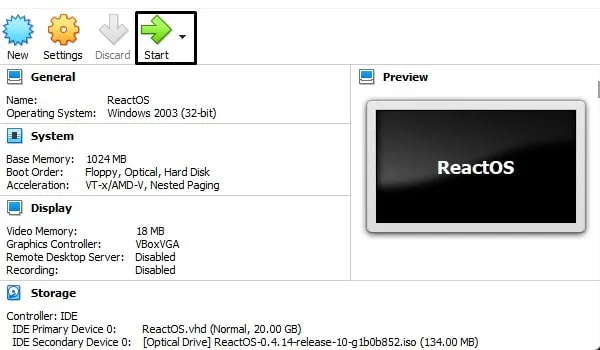
- Once the ReactOS virtual machine gets created, you will see a start button. Do click on it.
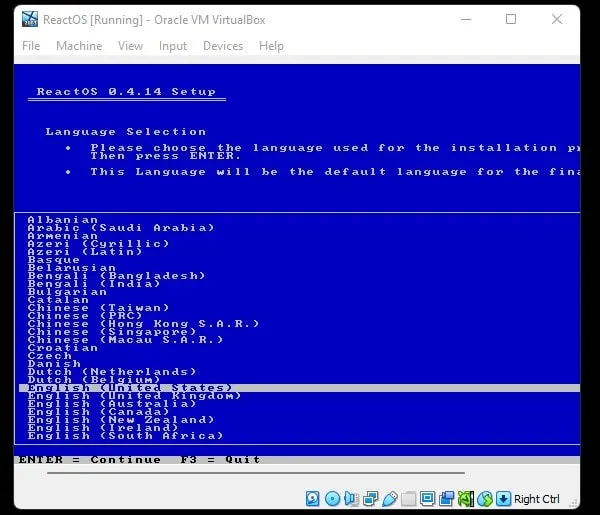
- Virtual machine will start running and ReactOS setup window will appear. A language selection window will appear. Select your language and press the enter key.
- Next, press the Enter key again to install or upgrade ReactOS.
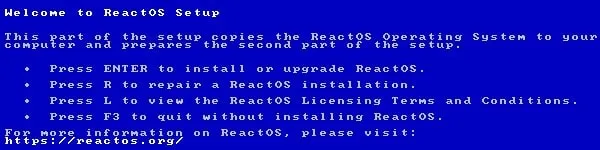
- Next, it will give you information that ReactOS is in the alpha stage and development. Press Enter again to continue with the setup.
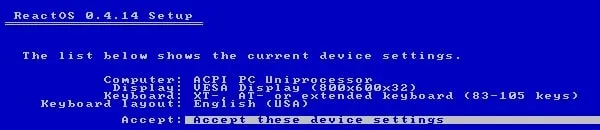
- ReactOS Setup will now show you your virtual device settings. Press Enter to “Accept these device settings”.
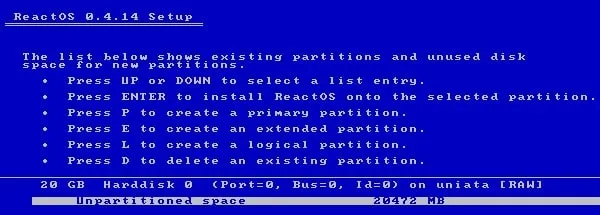
- Now, you will see the virtual hard disk that you have created. It will be unpartitioned, press the Enter key to continue to install ReactOS in it.
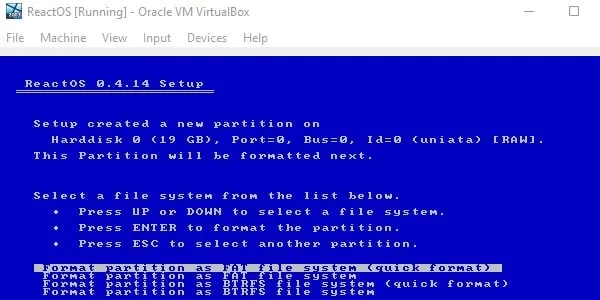
- Next, the setup will ask you to format the disk. Keep the default option selected and press enter. Do press the enter key again, to confirm formatting the drive.
- Once the drive gets formatted, you will see it will show you \ReactOS directory to install ReactOS. Press the Enter key to continue the installation.

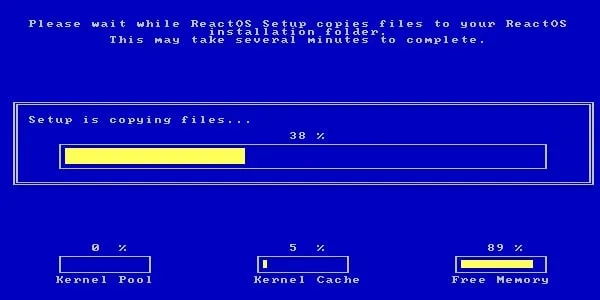
- That’s it, the ReactOS installation process will get started. Which is similar to Windows.
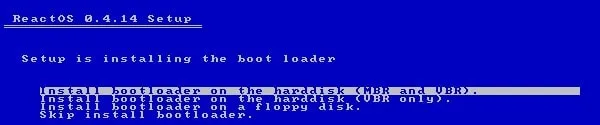
- Once ReactOS gets installed, it will ask you to install the bootloader. Keep the first option selected and press the enter key.
React OS Setup Wizard.
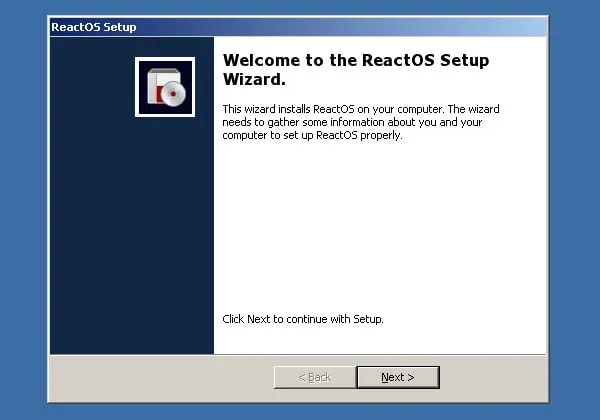
- The ReactOS Virtual machine will now reboot. Wait for a few seconds, and ReactOS will be started with the initial setup wizard.
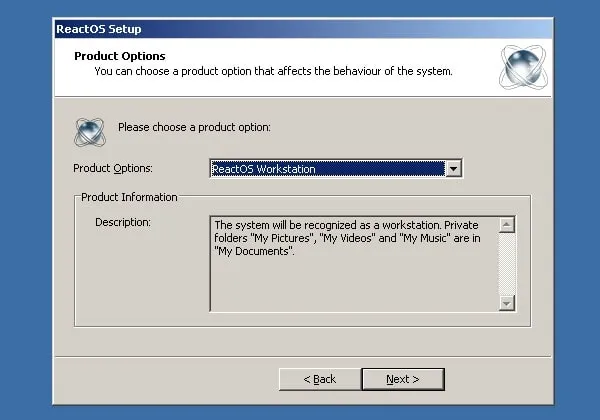
- Keep clicking on next. And, it will give you two options. ReactOS server and ReactOS Workstation. Do select the Workstation option, click on next.
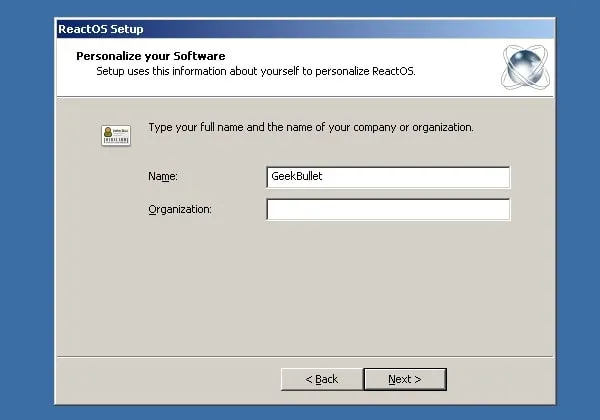
- Again keep clicking on next, and it will ask you to enter your name and organization name. Do enter it and continue with the setup.
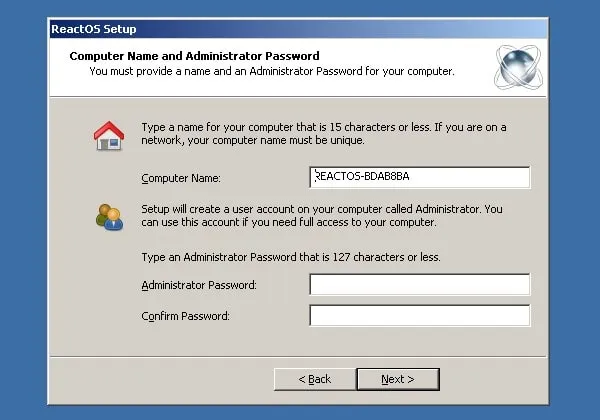
- Next it will ask for the computer’s name and password. Do enter it and click on next.
- Date and time window will appear. Make sure it’s correct and click on next.
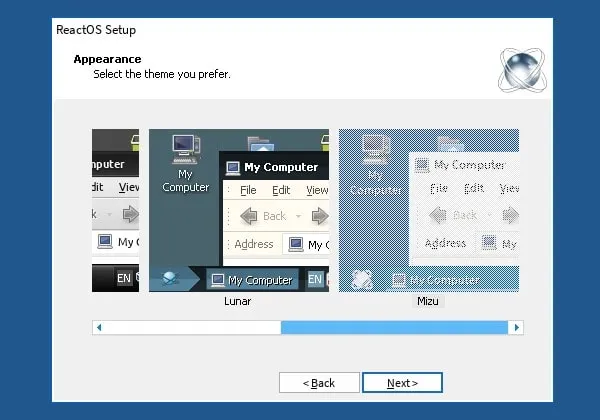
- Next, you can select the ReactOS theme. Do select it and click on next.
- Next, keep network settings to typical and click on next.
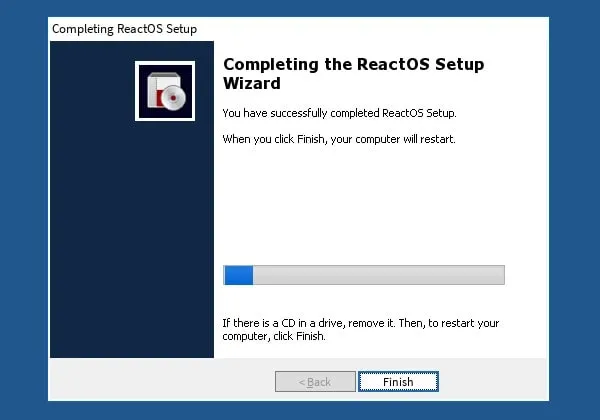
- Keep clicking on next and the ReactOS setup wizard will complete the setup.
- Once the setup gets completed, it will reboot. ReactOS driver setup wizard will appear. Click on Next to install Drivers. If it gets failed, do close the driver window.
- That’s it, you can now use the new ReactOS in VirtualBox.
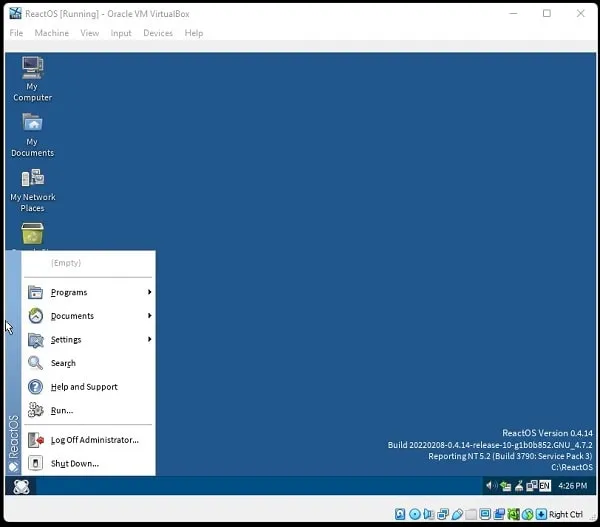
So, that’s how you can install ReactOS on VirtualBox. Yes, the installation process seems a bit longer. But, trust me it is way easier than installing the latest Windows. If you face any trouble during installation, let me know in the comment section. I will try to help as much I can.