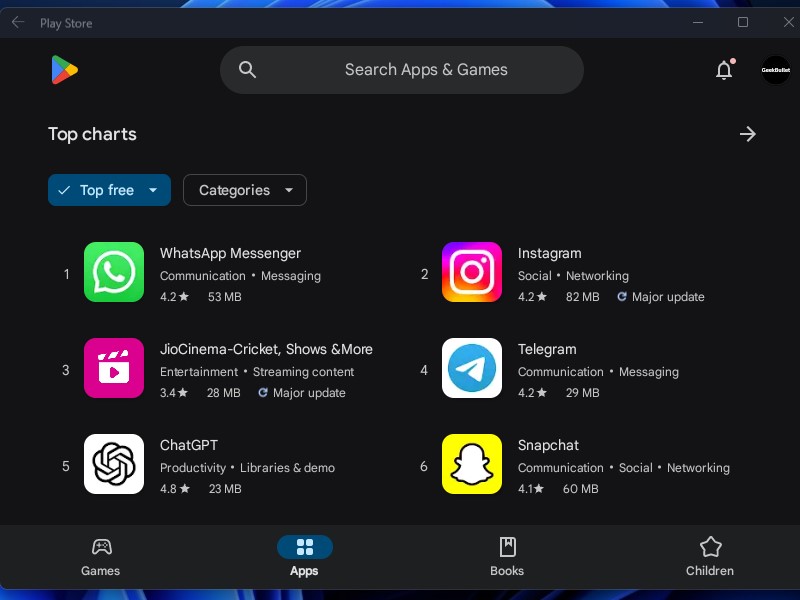
Finally, Microsoft has released the Windows subsystem for Android with Amazon App Store support. Yes, you can install Amazon Appstore on Windows 11 and Sideload Android Apps. But, now you don’t have to do that so. Because now you can install Google Play Store on Windows 11 using Android Subsystem. Even, you will be able to sign in to Play Store without any errors. So no more need to sideload apps by running commands. You can directly install any App from Google Play Store.
Yes, for now, you might not able to play Android Games like PUBG/BGMI, because of keymapping required. But hopefully soon, we will find out the solution for that as well. Before you start following this guide, first do uninstall any older version of the Windows subsystem for Android. You can uninstall by using Windows search. Also, if you haven’t installed the Android subsystem yet, then first complete the following requirements.
Install Google Play Store on Windows 11
Prerequisites.
- Latest Version of Windows 11
- Set the region to the United States
- Enable Virtualization in BIOS.
- Enable Virtual Machine Platform.
Step 1: Install the Latest Version of Windows 11.
The Amazon Appstore is available for the latest version of Windows 11 22H2. So make sure you’re using the latest version of Windows 11.
- Press
Windows + IKeyboard Shortcut to open Settings App.
- From the left pane, click on Windows Update.
- Click on “Check for updates”.
- That’s it, Windows 11 will now check for any required updates. And, it will install it for you.
Step 2: Set the region to the United States. (Optional)
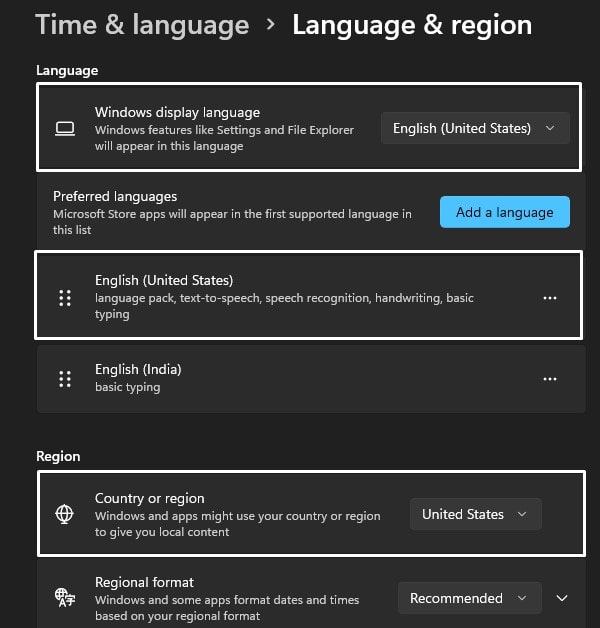
As I mentioned earlier, the preview is only available for devices based in the United States. So, you have to first change your region. Though, if you’re already from the United States, then you can skip this part.
- Press
Windows + Ikey to open the Settings App. Now, from the left pane, click on “Time & language”.
- After that, click on “Language & Region”.
- Now select the United States in “country or region”.
- Also, do change the Window display language.
- That’s it, now restart Windows.
Step 3: Enable Virtualization in BIOS.
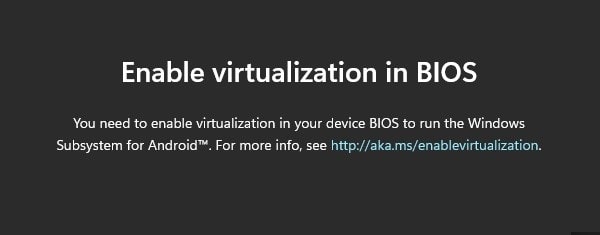
To run the Windows Subsystem for Android, you need to enable virtualization from BIOS settings. Every motherboard’s BIOS settings are different. It is not possible to mention every manufacturer’s motherboard. So do check your computer/motherboard manufacturer to find specific steps to enable Virtualization. I am using Intel Processor, so I have enabled “Intel (VMX) Virtualization Technology”.
Step 4: Enable Virtual Machine Platform.
Once you enable virtualization from BIOS settings, after that, you have to enable Virtual Machine Platform.
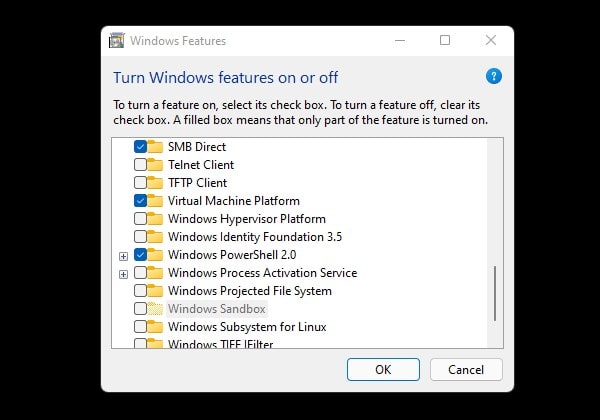
- Search for “Turn Windows features on or off” in Windows 11. And, click on open from the top search result.
- Windows features window will now get Open, scroll, and do select “Virtual Machine Platform”.
- And, click on ok.
- Once the Virtual Machine Platform gets installed, you have to restart Windows to Apply changes.
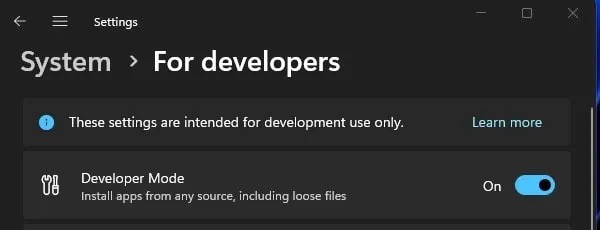
Step 5: Enable Windows 11 Developer Mode.
As of now Windows Subsystem for Android with Google Play Store support is in development mode. So to sideload it we have to enable developer mode.
- Press Windows + I keyboard Shortcut to open Settings App.
- Click on System from left-pane.
- Click on “For developers”.
- Now, from here, do enable developer mode.
Download WSA Gapps Package
Now, do download latest WSA build from the following GitHub link. You will find “Windows Subsystem for Android” for the arm64 and x64. If you’re unaware with your system type. Then, follow these steps to check.
- Open Settings App.
- Click on system.
- Scroll down and click on About.
- You will now find your System type.
If your system type is x64, then scroll down and you will find WSA for Windows 11 x64. Open the asset section and download the WSA package with Gapps and NoAmazon.

Extract WSA Package
- First, make sure 7-Zip is installed in your system. If not do install it, it’s free.
- Right-click on downloaded WSA zip file. Click on Show More options.
- Now, click on 7-Zip > Extract to WSA.
(Alternatively you can click on Extract All > Extract)
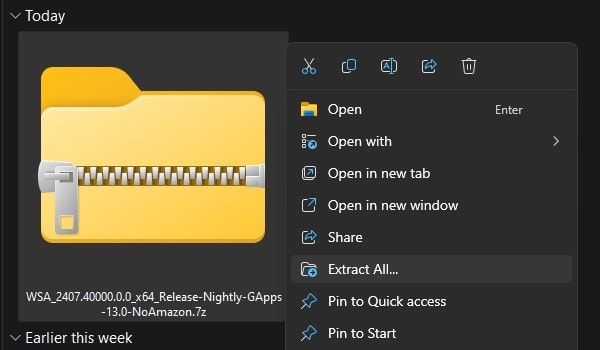
- That’s it, 7-Zip will extract the Android Subsystem package.
- Do open extracted folder, you will find another WSA folder inside it.
- Do rename folder name to “WindowsSubsystemAndroid” or “WSA”.
Install Windows Subsystem for Android with Play Store.
- Open WindowsSubsystemAndroid folder, and do Right-Click on Install file and then click on “Run with PowerShell”.
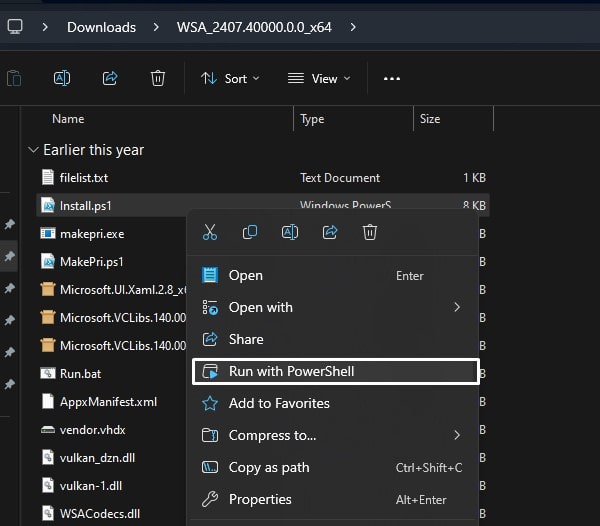
- Security Warning might appear, click on Open. UAC window will now appear, click on Yes.
- That’s it, within a few seconds through Windows PowerShell Windows subsystem for Android with Play Store gets installed.

- Optional Diagnostic data for Windows Subsystem for Android window will appear. Click on Continue.
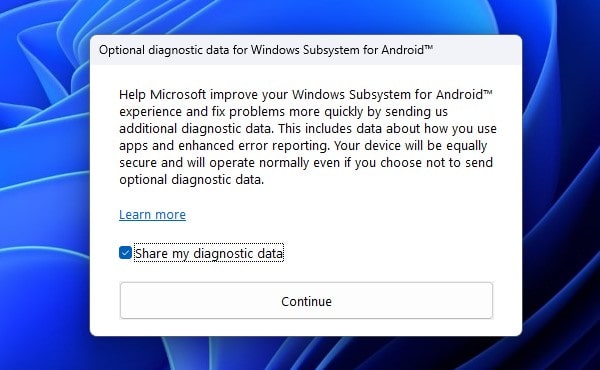
- That’s it, Play Store window with starting windows subsystem for Android will appear. And, Play will get open within few seconds.
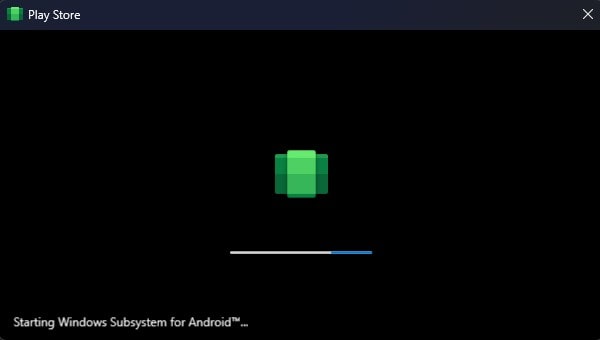
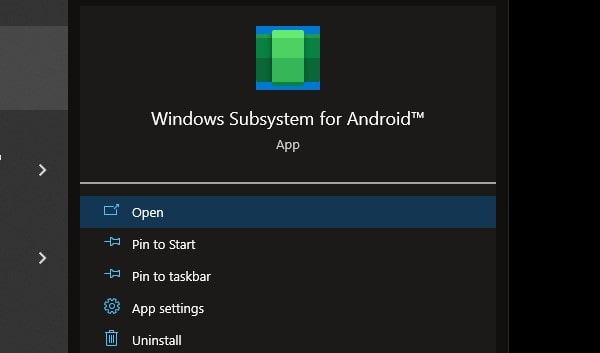
- However, if Play Store doesn’t get open. Then, use Windows Search, and do search and open “Windows Subsystem for Android”.
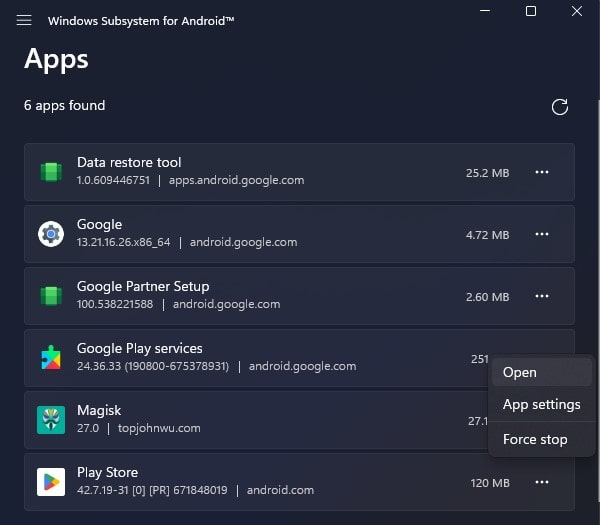
- Click on Apps from left-pane. And, you will find Play Store App in Apps list. Click on “…” icon and then click on Open. (Yes, you can use Windows Search and directly open Play Store.)
- Once, Play Store gets open, Click on Sign In and login using your Google Account.
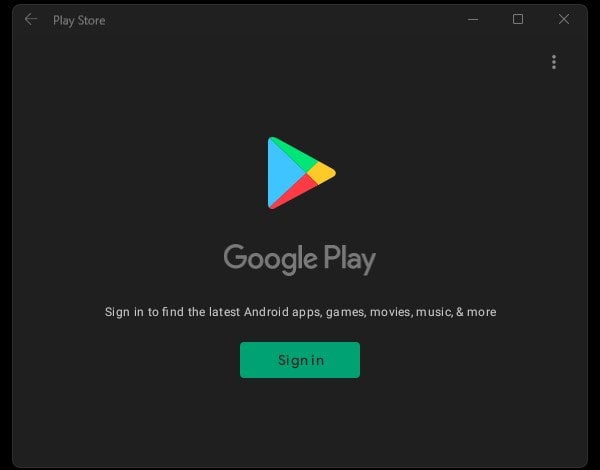
- Now, you can install any Android app on Windows 11 PC.
- So, that’s how you can Install Google Play Store on Windows 11 using WSA.
