
If you own a Amazon Echo Dot, Echo Pop, or Echo Show device. Then, you can easily turn on your PC with Voice Command using Alexa. Yes, even you can use Amazon Alexa App on your iPhone or Android to turn on PC remotely. However, your PC should be connected to a LAN Cable. And, your PC and Alexa should be on same Wi-Fi Network. For this, we are going to use “Wake on Lan Alexa Skill”.
Before setting it up, you have to enable few options in your PC BIOS and Device Manager settings. After that, we will register PC Mac Address on “wolskill” website. So, do follow all steps mentioned in this article.
Turn on PC with your Voice using Alexa
Enable Wake on Magic Packet
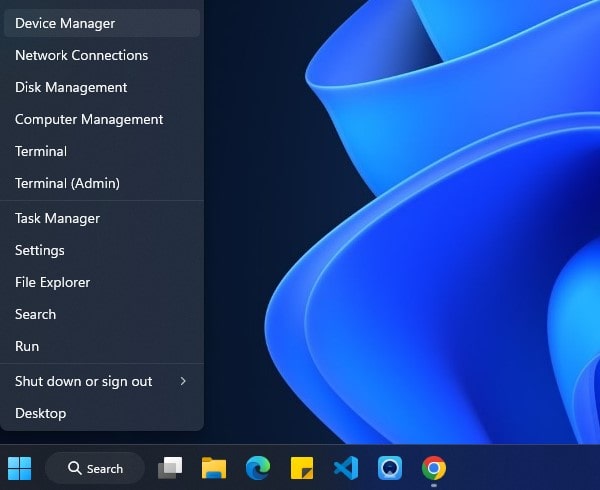
- First, do right-click on Windows Icon and then click on Device Manager.
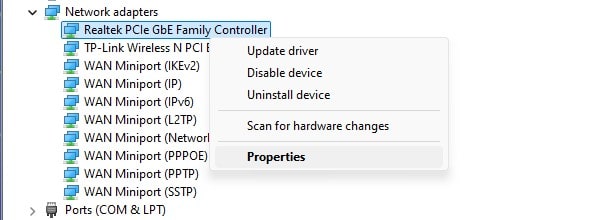
- Device Manager will get open, do double-click on Network adapters.
- Network adapters tab will get expanded. Right-click on “Realtek PCIe GbE Family Controller” and then click on properties.
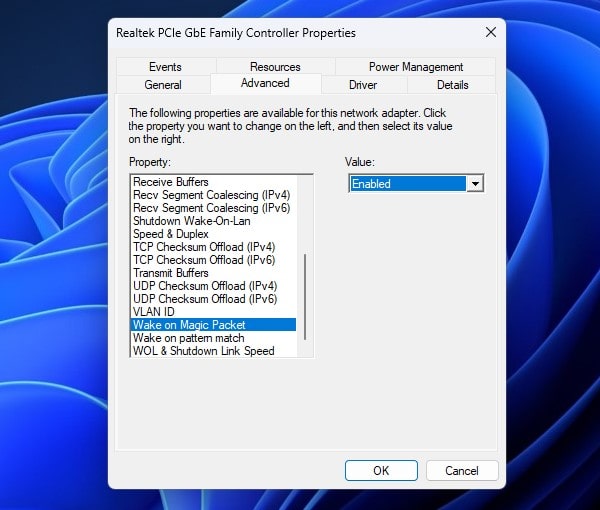
- Click on advanced tab, now from property scroll down and select “Wake on Magic Packet”, after that from value select “Enabled”.
- After that, click on Power Management tab, and do enable all three options.
- Allow the computer to turn off this device to save power. (optional)
- Allow this device to wake the computer
- Only allow a magic packet to wake the computer

- After enabling all three options, click on ok and close the device manager window.
Boot into UEFI BIOS Setup
- Do press Windows + I keyboard shortcut to open Settings App.
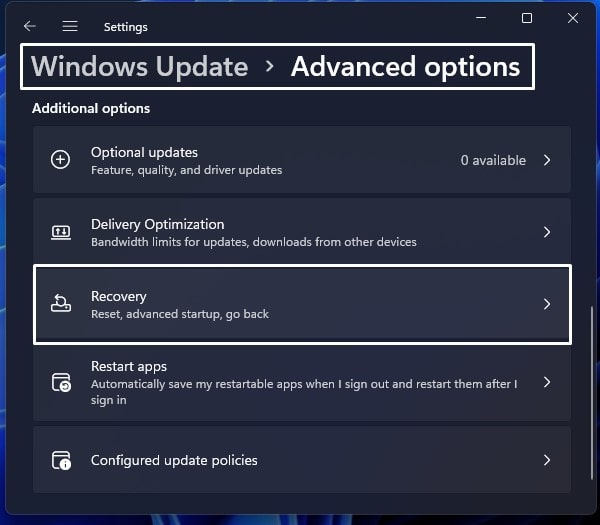
- From left-pane click on Windows Update. After that, click on Advanced options.
- Now, from additional options, click on Recovery.
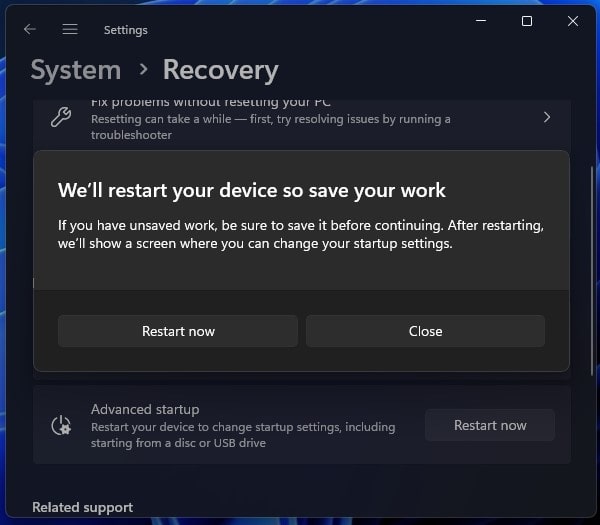
- Click on Restart now from from Advanced Startup.
- Confirmation window will appear, click on Restart Now.
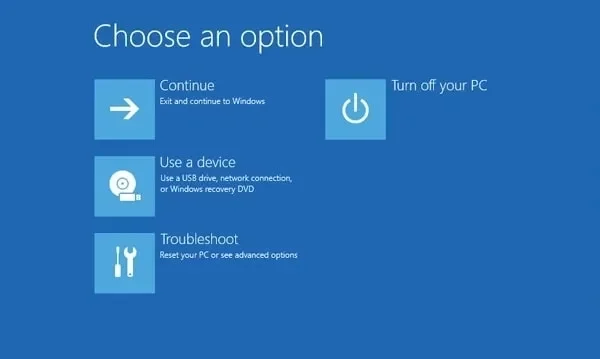
- Within few seconds, your computer will now boot into Recovery Mode.
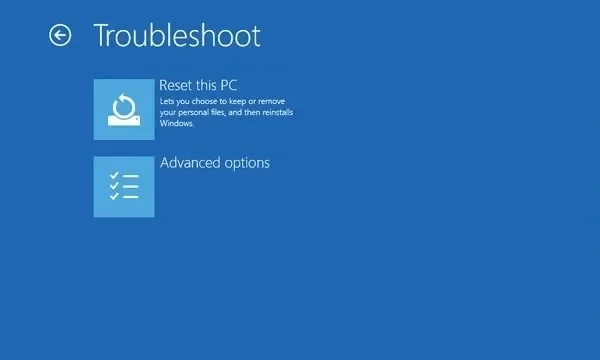
- After that, click on Troubleshoot.
- Click on Advanced Options.
- Next. click on UEFI Firmware Settings.
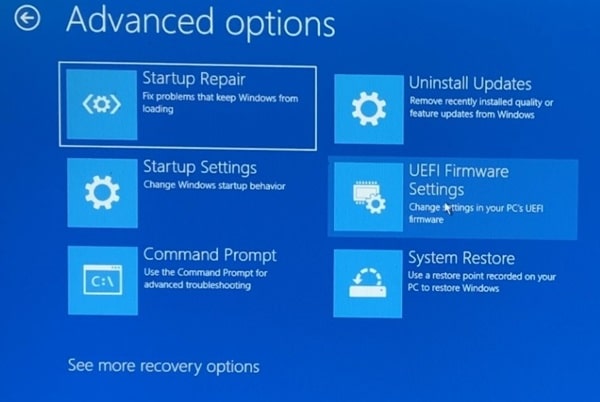
- Click on Restart and now your computer will boot into UEFI BIOS Utility.
Enable Power On By PCI-E
In my PC, I am using ASUS Motherboard. That’s why, I entered into ASUS BIOS Utility. In your case, it can be different. So, you have to find “Power On By PCI-E” option by yourself. Also, the option can be from different or similar name.
- Click on Advanced Mode.
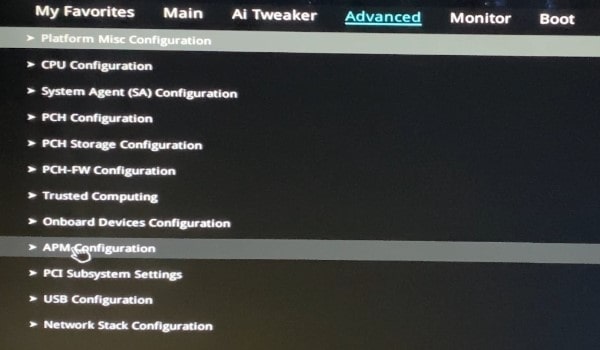
- After that, click on Advanced Tab.
- Next, you have to click on APM Configuration.
- Now, do find “Power On By PCI-E” option and do enable it.
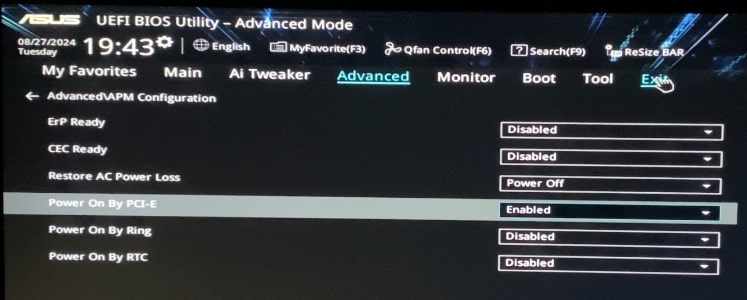
- Once, you enable it, click on Exit.
- You will now find “Save Changes & Reset” option. Click on it.
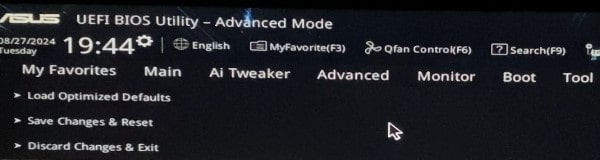
- Next, click on ok.
- That’s it, your computer will now boot normally.
Find and Copy Mac Address
- Open Settings App again by pressing Windows + I keyboard shortcut.
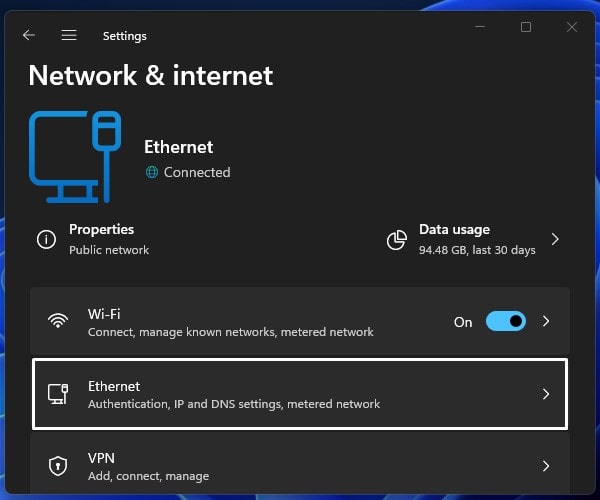
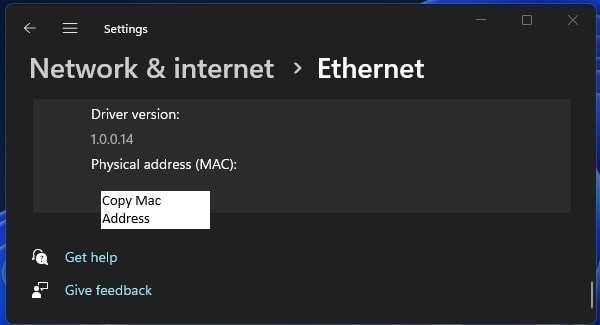
- Ones, settings app gets open, click on “”Network & internet.
- Click on Ethernet.
- Now, look for the “Physical address (MAC)” and do copy it.
Add PC Mac Address in “Wake on Lan Alexa Skill”
- Do open your preferred web browser and open wolskill website.
- Click on Login with Amazon and do login using Amazon Account.

- Once you logged in, scroll down and type your computer name. And, do paste the mac address that you’ve copied earlier.
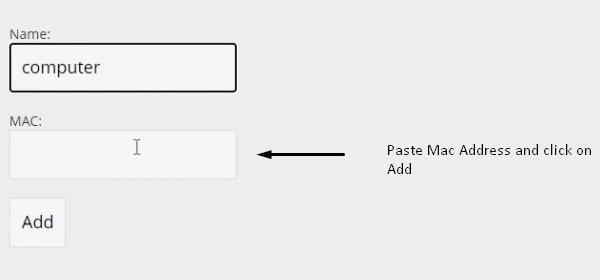
- Click on Add. That’s it, you’ve successfully added Mac Address in “Wake on Lan Alexa Skill”.
Add wolskill in Amazon Alexa App
- Do open Amazon Alexa App, after that, tap on More.
- Tap on Skills & Games.

- Now, do search for wol. Tap on first search result.

- Next, tap on “Alexa turn on the TV”.

- Wake on LAN (WoL) window will appear, tap on “Enable to use”.

- Now, login using same Amazon Account.

- Account linking process will get started and it might take few seconds.
- Wake on LAN (WoL) has been successfully linked message will appear, tap on Next.

- After that, your Alexa device will start looking for the computer.
- Once, it found and connected, tap on next.

- After that select a group basically your computer location, tap on Add to group. You can skip if you don’t want to select.
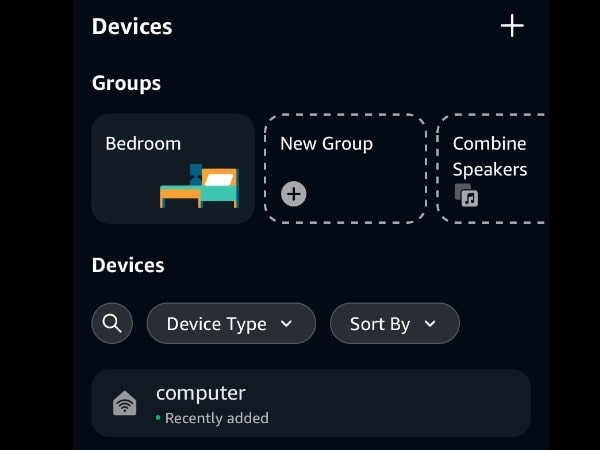
- Tap on Done. You will now see Computer added with other devices in Alexa App. Tap on it to make sure it’s connected.
🗣️Alexa, Turn on Computer
That’s it, you have successfully completed all setup process. Now, shut down your Windows PC. And, keep Power cord connected. After that, just say “Alexa Turn on Computer”. And, Alexa will say okay, and your CPU will get started. So, from now on, no need to press power button in CPU, just say “Alexa Turn on Computer” and it will turn on PC like magic. So, that’s how you can Turn on PC with your Voice using Alexa.