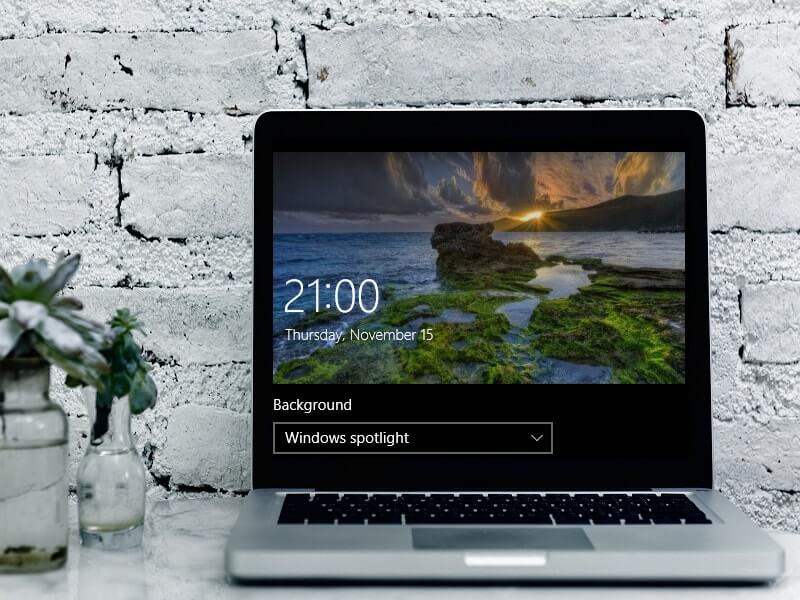
Is your Windows 10 lock screen showing the same wallpaper every day?. Then, Windows Spotlight Not Working on your PC. Though, it isn’t a big issue, which you need to worry about. But still, change is necessary. So in this article, I will tell you about some working solutions. These solutions will help you to fix Windows Spotlight.
What is Windows Spotlight Feature?.
If you’re reading this article, then maybe you already knew about it. But if you don’t know –
Windows Spotlight is a lock screen wallpaper change feature. In Windows 7, there was a similar feature, known as the wallpaper theme. Though, in the Windows 7 wallpaper theme feature, was only can use downloaded wallpaper. But, the Windows Spotlight feature does download new wallpaper daily from Bing. And, then shows you on your Windows 10 lock screen. You can also mark, whether you want similar images shown by a spotlight or not. Overall, it tries to keep your Windows experience fresh. Every time you start Windows.
Why Windows Spotlight Images not changing?.
There could be multiple reasons behind Windows 10 Spotlight Not Working problem. As I mentioned, it downloads images from Bing. So, you need an internet connection. If you connect the internet after login to Windows. Then, Windows Spotlight will not work. But, if you’re using an active WiFi or Ethernet Connection. Then, Windows Spotlight will work fine.
If you have recently updated your Windows. Then, this also could be the reason. Also, sometimes some third party program blocks Windows Feature. So, you have to remove recently installed software. And, if your Windows files got corrupted. Then, also the problem with Windows Spotlight can occur. Well, whatever is the reason, here are the solutions to fix Windows Spotlight.
Fix – Windows Spotlight Not Working.
Disable and Enable Windows Spotlight Option.
By default, this option comes active in Windows. But, if you have disabled this option by mistake. Or, if due to some third party program this feature got deactivate. Then, by re-enabling it you can fix Windows Spotlight not working problem.
1. Press Windows + I key simultaneously to open the Settings App in Windows 10.
2. Click on Personalization > Lock Screen. (Check left pane for option.)
3. Now, Under the lock screen preview, you will able to find out the background option. From drop-down menu first select Picture option.
By selecting a picture option, the Windows Spotlight option will get disabled.
4. Now, after a minute, select Windows Spotlight Option from the drop-down menu.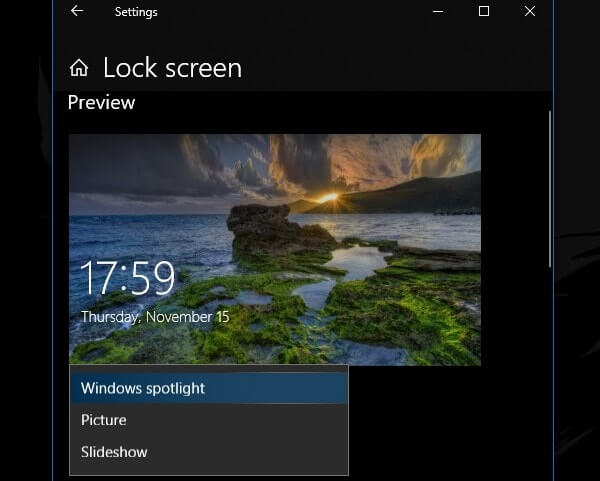
That’s it. Now, your lock screen wallpaper will get change automatically every day.
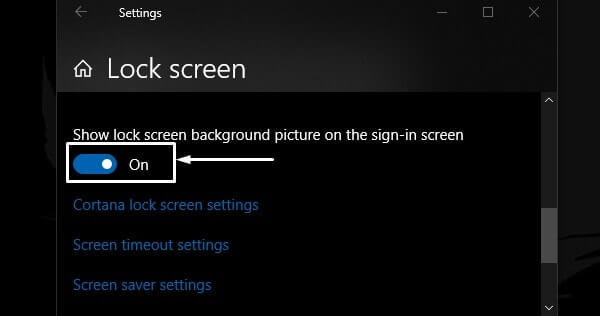
- Also, if the lock screen wallpaper is getting change. But, sign-in screen wallpaper stays the same. Then, there is one more option which you need to re-enable.
- Scroll down a little bit on the lock screen settings page. And, then turn on “show lock screen background picture on the sign-in screen” option.
- You can also choose an App to show details status on the lock screen. By default, mail and calendar App comes pre-added.
Delete Files and Restart Computer.
Before trying out this solution, I suggest you create a backup of your Windows. Though, this solution will not lead your Windows to any error. But, if you delete something wrong other than a mention in this article. Then, you might face some unexpected errors. Though, I personally tried this solution. And, Windows Spotlight not a working problem got solved for me. So, give it a try.
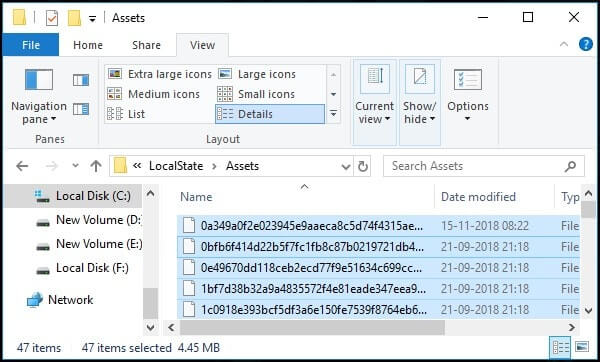
Enable Hidden Items – Open File Explorer. Click on the ‘View’ tab, and then mark the “Hidden Items” option. (This option will help you to show all hidden folders. That we need to access to fix Spotlight in Windows 10.
1. Open File Explorer and navigate to the following directory.
(If your Windows 10 is installed in another drive. Then, open this directory in that drive. And, replace the user name with your name.)
2. Now, select all files shown in the Assets folder. And, then hit the delete key. Or, right-click to delete.
3. After deleting the Assets folder files. Open the following directory. Or, you can go back to open it.
4. In the settings folder, you will able to find out two files.
roaming.lock
settings.dat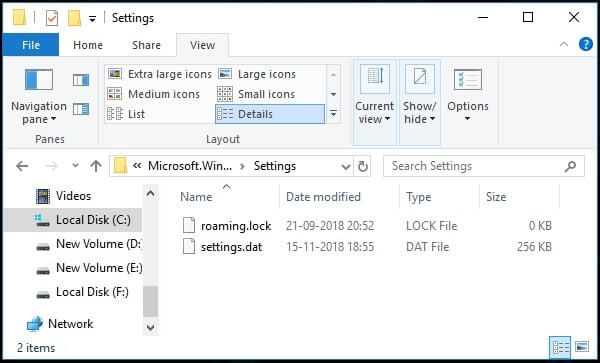
delete both files. And, after deleting these files, restart your Windows. Also, make sure Windows Spotlight is selected in Settings App. (Use the first solution to check.)
Re-Register Windows Spotlight.
If after deleting files and restarting Windows. Still, Windows Spotlight Not Working. Then, you need to run a command to get it to work.
1. Press Windows + X key simultaneously to open the WinX menu.
2. From the menu, click on Windows PowerShell(Admin).
3. UAC (User Account Control) window might appear. Click on yes.
4. Copy and paste the following command in Windows Powershell and then hit the enter key. (First, copy this command. And, then in Windows Powershell right-click to auto paste.)
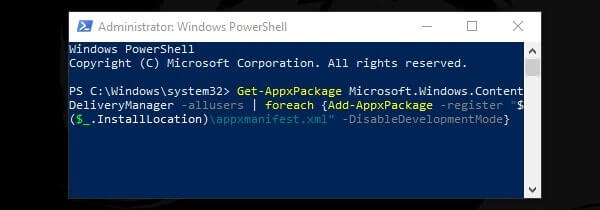
Now, wait for the process to get complete. Don’t close Windows Powershell. After running command perfectly, restart your Windows. And, hopefully, windows spotlight not changing pictures problem will get resolved.
Turn Off Metered Connection.
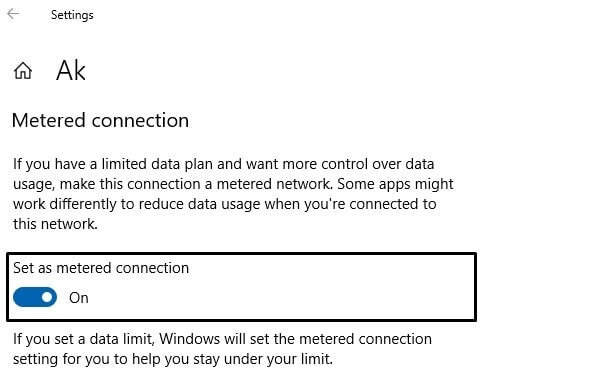
Metered Connection is quite a good feature, for those users who have limited internet connection. This feature block internet connection, for the background Apps. This means the Internet connection will work only when you use it yourself. And, the metered connection also does block the Windows Spotlight feature. So, it could be also the reason behind Windows Spotlight Not Working problem.
- Open Settings App in Windows 10.
- Click on Network & Internet > Change connection properties.
- Scroll a little bit down, and, you will able to see the metered connection option.
- Make sure it is turned off.
Run SFC and DISM Scan.
It could possible that Windows files got corrupted. And, that’s why Windows Spotlight not changing image. Windows comes with two scans to fix system files. System File Checker and Deployment Image Servicing and Management. Although, the SFC scan is enough. But, if the SFC scan doesn’t work then you can try DISM Scan.
- Click on the start button. Search for CMD. From search results, right-click on command prompt. And, then click on “Run as administrator”.
- Now, in CMD type these commands and press enter. (Don’t close CMD, when these scans are running.)
You can also use Windows PowerShell.
For SFC Scan.
sfc /scannow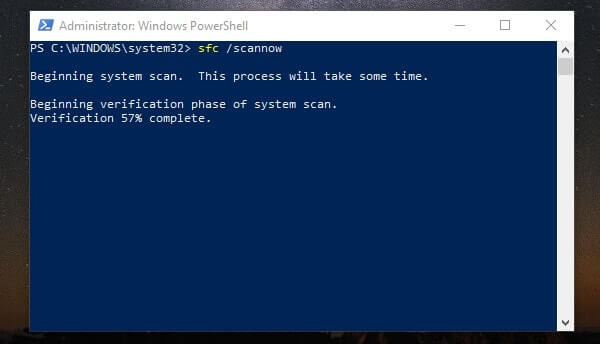
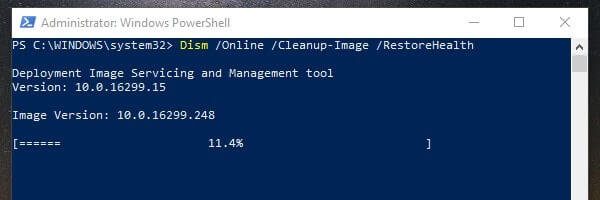
For DISM Scan.
- Dism /Online /Cleanup-Image /CheckHealth
- Dism /Online /Cleanup-Image /ScanHealth
- Dism /Online /Cleanup-Image /RestoreHealth
Run System Maintenance Troubleshooter.
- Open Control Panel.
- Select Large Icons option in View by:
- Click on Troubleshooting.
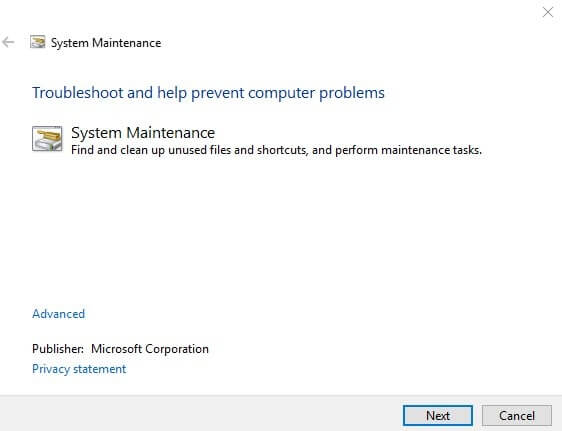
- Under System & Security, click on the “Run maintenance tasks” option.
- System Maintenance Window will appear, click on next to run it.
Reset Windows.
Is Windows Spotlight feature is so important for you? Then, you can reset Windows. But, I don’t suggest to reset Windows for it. But, if the above solution doesn’t help you to fix the “Windows Spotlight Not Working” problem. Then, this is the last solution which you can try. And, Don’t forget to create a backup of your important files. Before resetting Windows. Else, you will lose all your important data.
- To Reset Windows. Go to Settings > Update & Security > Recovery > Get Started.
Tip: To check Windows Spotlight working or not. You don’t need to restart Windows again and again. Just press Windows + L key simultaneously. This key combination will help you to jump into the login screen.