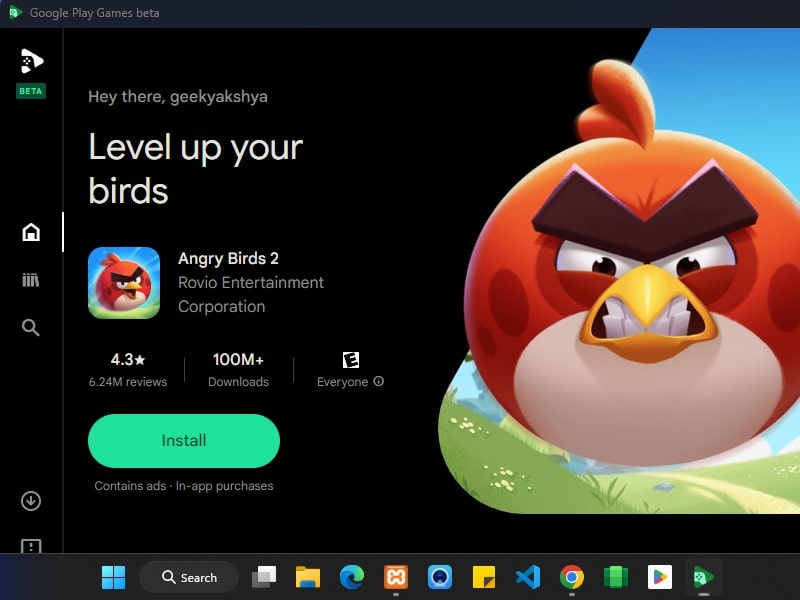
There are multiple ways available to run Android Apps on a PC. Like, you can install Windows Subsystem for Android with Play Store on PC. And, can easily run all Play Store apps on your Windows 11 Computer. Moreover, with some emulators, you can play Android Games on a PC. Because these emulators come with a keyboard mapping feature.
However, these emulators usually come with built-in bloatware and ads. Which ruins your overall gaming experience. Even, gaming emulators use many system resources, which makes Windows OS unresponsive. But, not anymore, you can now Install Google Play Games on Windows 11. And, you can Play Android Games on your PC. Now, you can also Install Google Play Store on Windows 11 to run Android Apps on PC.
Google Play Games Beta.
Google Play Games beta offers the official Google experience on a bigger screen and added control. You don’t need to manually map your Keyboard keys. All Android Mobile games come with preset keyboard and mouse controls.
Although, Google Play Games is currently in the beta stage. So, you will find selected games on Google’s gaming platform for PC. You can find some amazing games across multiple categories. E.g. Asphalt 9, Alto’s Adventure, Ludo King, Township, Cut the Rope, State of Survival, Zombeast, and many more.
Google Play Games Beta Minimum Requirements.
- Operating System: Windows 10 (v2004) or Higher.
- Storage: SSD with 10 GB of Free Space.
- Graphics: Intel UHD Graphics 630 GPU or comparable or higher.
- Processor: Minimum 4 Core CPU. (Intel CPU required for some games)
- Memory: 8 GB of RAM. (16GB will be better)
- Hardware Virtualization Enabled.
Google Play Games Beta Installation Guide – Install Android Games on PC
Enable Hardware Virtualization.
If your computer meets the minimum system requirements for the Google Play Games Beta. Then, first, you have to enable Virtualization from your BIOS and Computer Settings. After that, you can download and install Google’s gaming platform on your PC.
Enable Virtualization in BIOS.
To enable Virtualization, you have to enter into your Computer BIOS Setup. And, after that, do find the Virtualization option. Since every motherboard’s BIOS settings are different. So, it is not possible to mention about every manufacturer’s motherboard. I am using an ASUS Motherboard with an Intel Processor, so I have enabled “Intel (VMX) Virtualization Technology” in BIOS.
Enable Windows HyperVisor Platform.
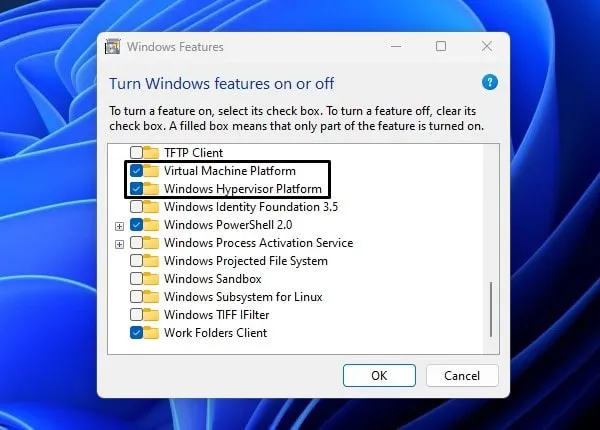
- In Windows 10/11, do a search for Windows features. And, after that, open, “Turn Windows features on or off”.
- Now, enable these two options.
- Virtual Machine Platform
- Windows Hypervisor Platform
- Click on OK.
- Windows will now search for required files and will enable both features.
- Once, both features are enabled, click on the “Restart Now” option to restart Windows.
Check whether Virtualization is Enabled or Not.
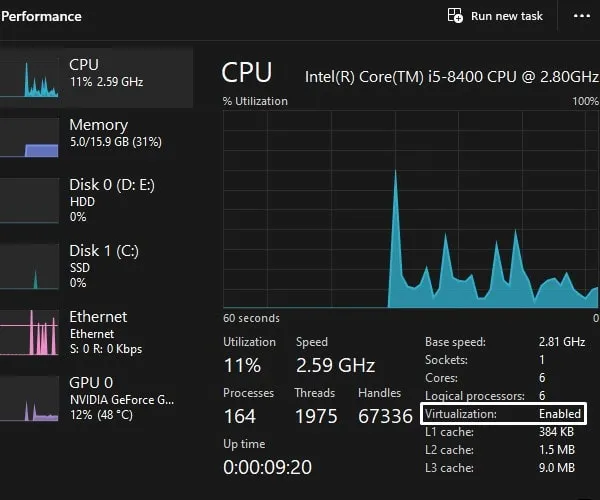
You can check whether Virtualization is enabled or not by using Task Manager.
- Do Open Task Manager and click on the Performance option from the left pane.
- Now, in the CPU section, you will see Virtualization: Enabled.
Download and Install Google Play Games Beta on PC
- Do visit the official website and download the Google Play Games Beta Setup file.
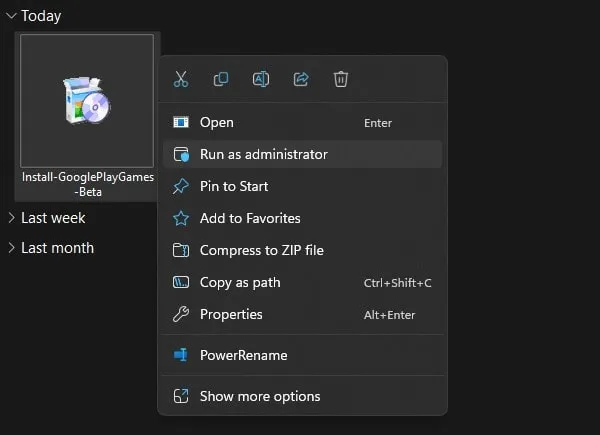
- Double-click on “Install GooglePlayGames-Beta” setup to Run. Or, do right-click on setup file and click on “Run as administrator”.
- Install Google Play Games Screen will appear, select installation location and click on Install.
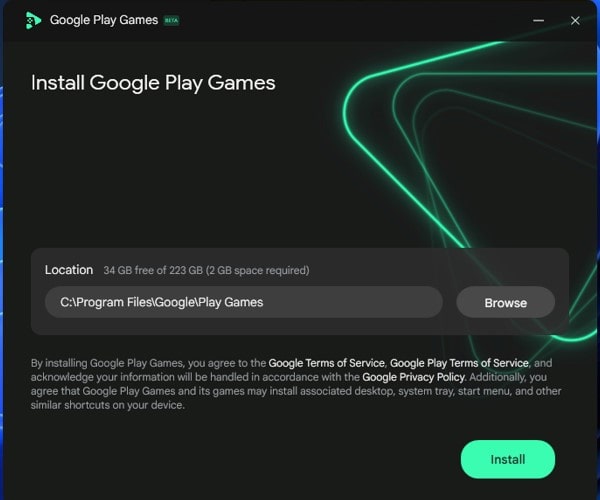
- UAC Window will appear, click on Yes.
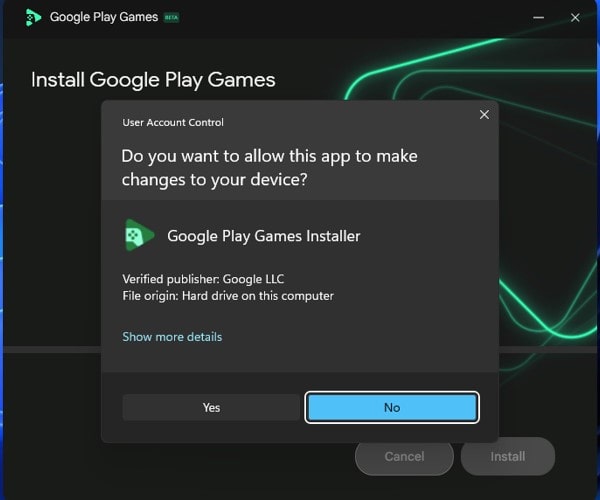
- Google Play Games download process will get started.
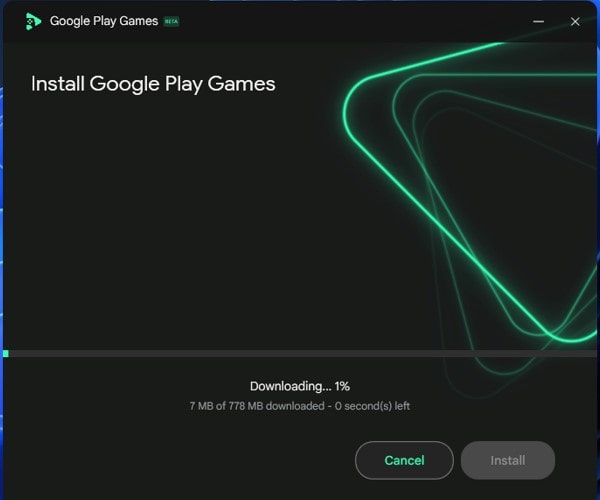
- After that, Google Play Games installation process will get started.
- After that, the “Welcome to Google Play Games” screen will appear. Click on “Sign in with Google”.
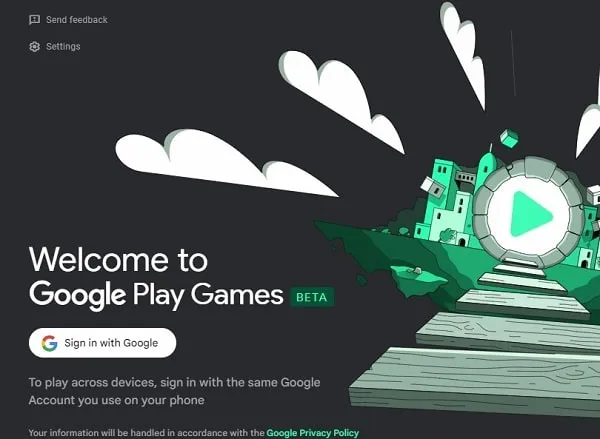
- Your default web browser will be open, Sign in using your Google Account. (Yes, you can change your default browser in Windows 11.)
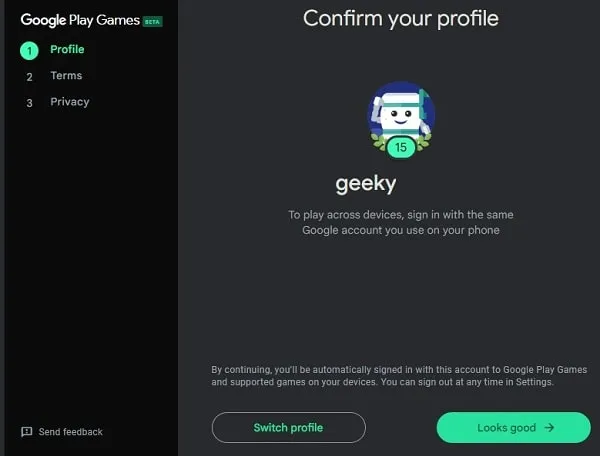
- Now, go back to the Google Play Games screen, and it will ask you to set up your profile. If you’ve used the Google Play Games app before, click on “Looks Good”.
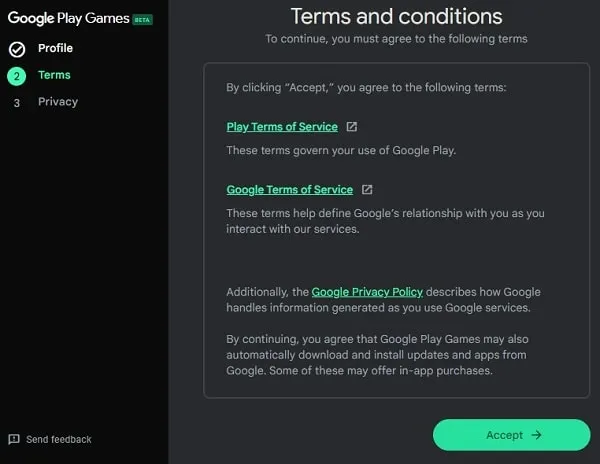
- The Terms and Conditions screen will appear. Click on Accept.
- Next, click on Finish.
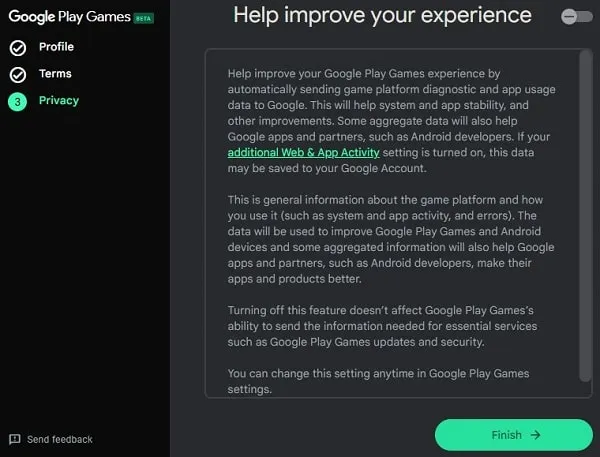
- That’s it, you’re now ready to install Android Mobile Games on your PC.
- Search or Browse your favorite game. Click on Install.
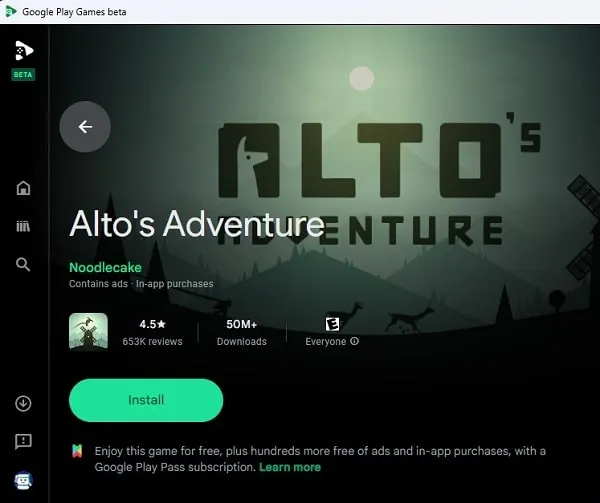
- Once, the game gets installed, Click on Play.
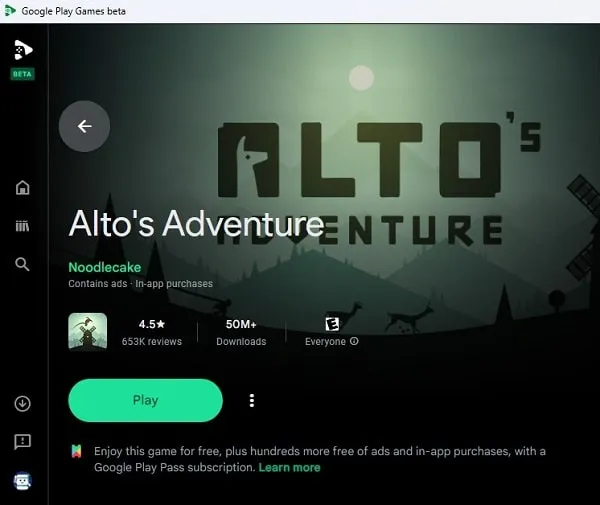
- The game will open in full screen, and you can play the Game using your Keyboard and Mouse.

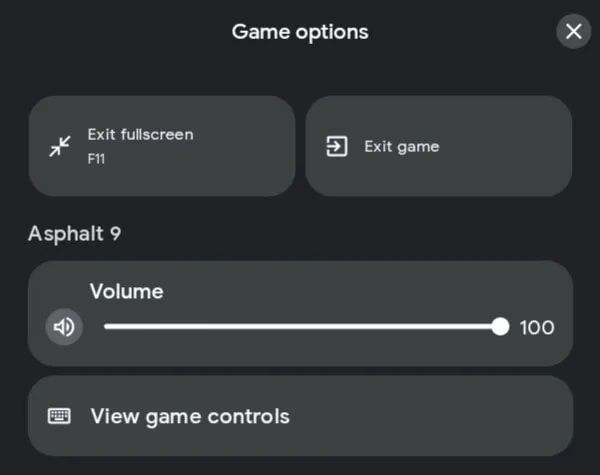
- To exit from any game, press the Shift + Tab shortcut key. This will open the Game options window.
From it, you can exit from a game, or from Fullscreen. Even, you can view game controls and control game volume.
So, that’s how you can Install Google Play Games on Windows 11. And, can play Android Games on your Windows PC, without installing any third-party emulator. However, if you’re a Mac user, then you can try Best Android Emulators for Mac.
